Warp setup
Warp connects through the unified HRIS connector. This page covers the Warp-side configuration you complete first. Once it's done, add the connector in Mesh by following Connect your HR system.
You finish with one value: a company API key.
Before you start
You need admin rights in Warp to generate a company API key.
These steps reflect Axiad's current understanding of Warp's configuration. Because Warp is a third-party product, there may be variations between your experience and what this guide describes, depending on the version in use and recent updates.
If you find a significant difference, or anything that doesn't make sense, let us know through Axiad support.
Step 1 — Choose production or sandbox
In the connection window, select whether you are connecting a production or a sandbox account, then select Continue.
Choosing sandbox connects to an instance holding none of your production people, so the connector goes healthy and collects nothing useful.

Step 2 — Sign in to Warp
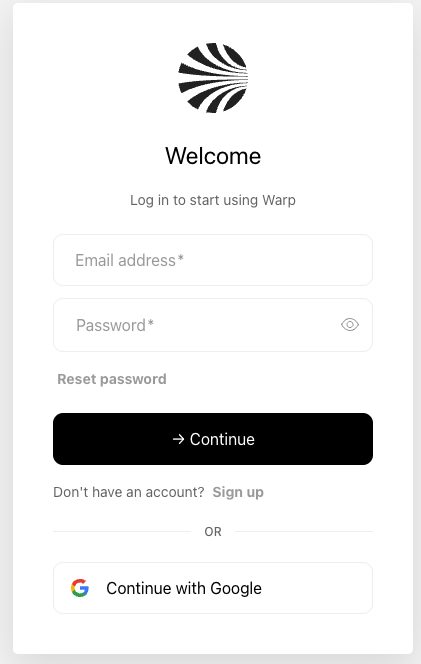
Sign in to your Warp dashboard. Production and sandbox are different hosts, so use the one matching your choice in Step 1.
Step 3 — Open developer settings
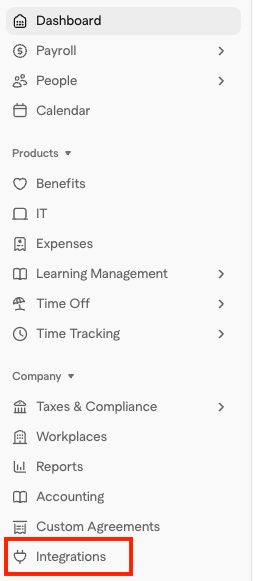
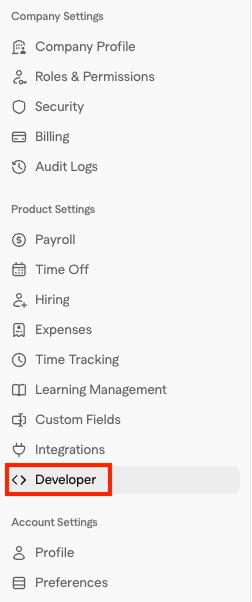
From the left panel, go to Integrations → Developer to reach the API Keys page.
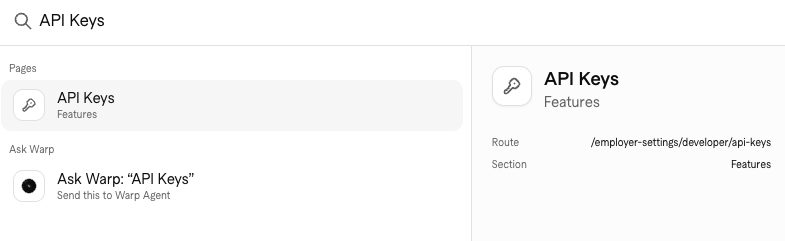
You can also search for API Keys from the top bar, or with Warp's Cmd+K shortcut.
Step 4 — Create the API key
-
Select Create API key.
-
Optionally name it — something identifying the Axiad Mesh connection helps a later administrator.
-
Select the permissions the connector needs.
Mesh uses HR data for identity correlation and risk assessment, so people and employment permissions are the useful ones. Payroll and time off are only needed if you want that data in Mesh — the key reads what you grant it, and nothing more.
-
Copy the key.
Step 5 — Connect in Mesh
Follow Connect your HR system, choose Warp in the connection window, and paste the API key.
After connecting
The connector appears in your connectors list with Health: Initializing while the first collection runs, then moves to Good. Access is read-only: Mesh does not write back to Warp.
If it doesn't come online, see Troubleshoot HR connectors.
Troubleshooting
| What you see | Likely cause | Fix |
|---|---|---|
| The connector is healthy but almost no people arrive | The key belongs to the sandbox rather than production | Reconnect, selecting the environment you actually sign in to |
| Some data is missing | The API key was created with narrower permissions | Create a new key with the permissions you need, then reconnect |
| You cannot create a key | The account is not a Warp admin | Ask a Warp administrator to generate the company API key |