CyberArk setup
CyberArk connects through the unified HRIS connector. This page covers the CyberArk-side configuration you complete first. Once it's done, add the connector in Mesh by following Connect your HR system.
You finish with four values:
| Value | Where it comes from |
|---|---|
| Tenant URL | Your organization's CyberArk sign-in host |
| OAuth client application ID | The application ID you choose in Step 3 |
| Client ID | The service user you create in Step 4 |
| Client secret | Set when you create the service user |
Before you start
You need administrator access to your company's CyberArk instance, or a colleague who has it.
These steps reflect Axiad's current understanding of CyberArk's configuration. Because CyberArk is a third-party product, there may be variations between your experience and what this guide describes, depending on the version in use and recent updates.
If you find a significant difference, or anything that doesn't make sense, let us know through Axiad support.
Step 1 — Open the admin portal
-
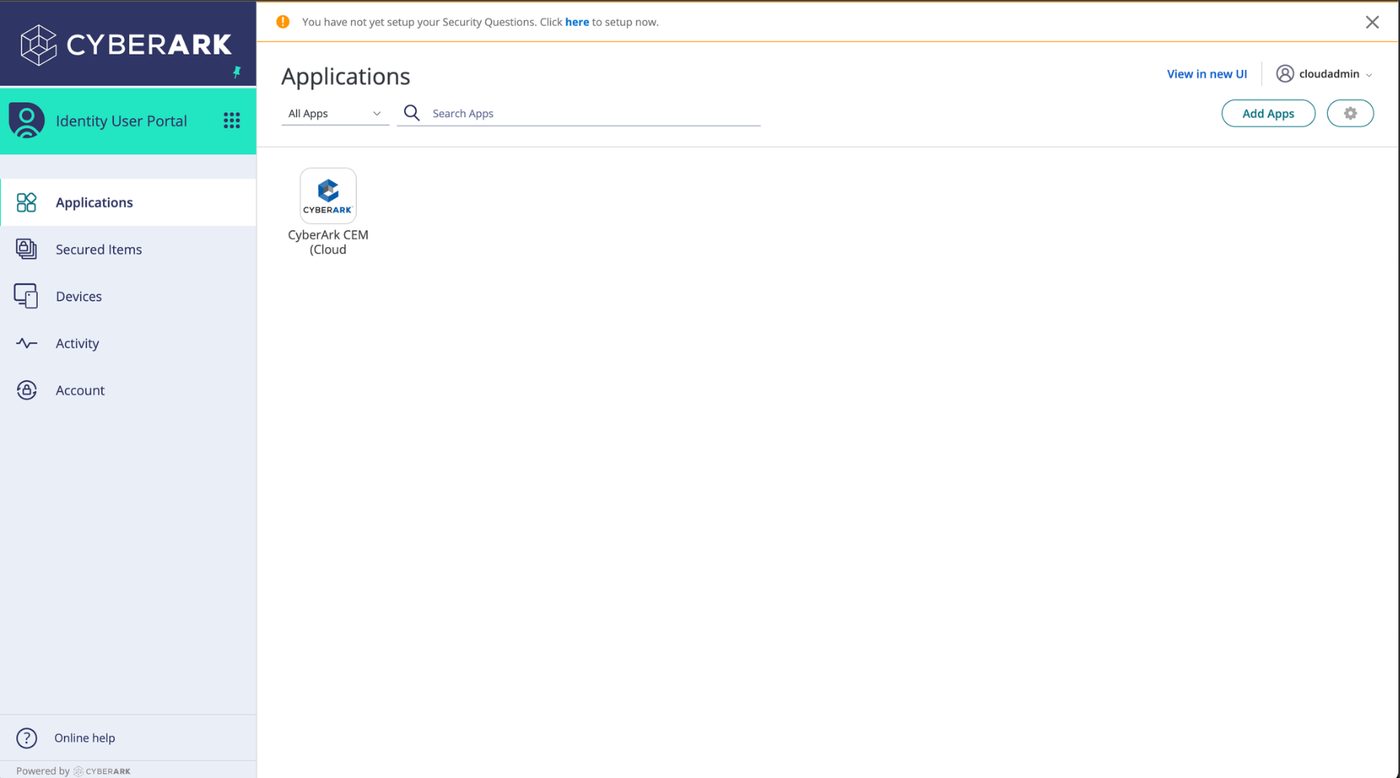
Sign in to CyberArk at your organization's tenant URL.
-
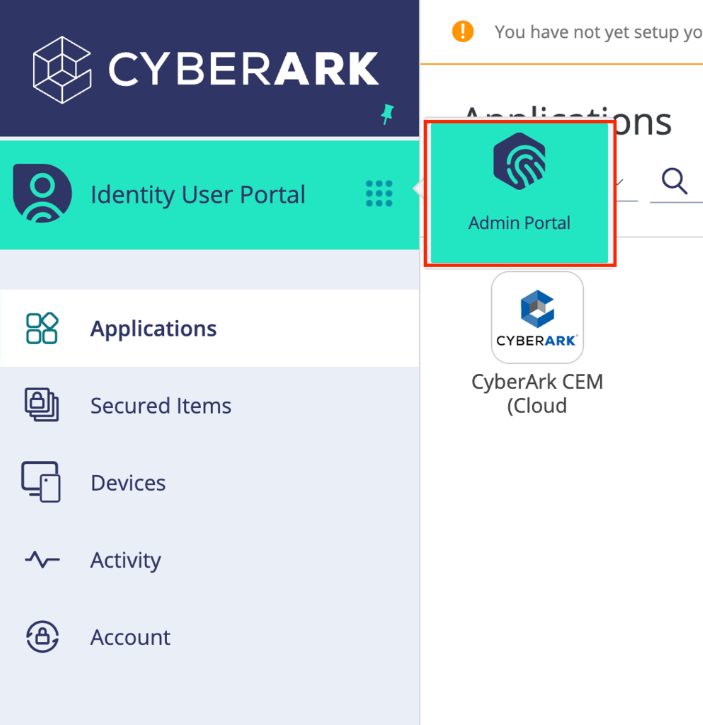
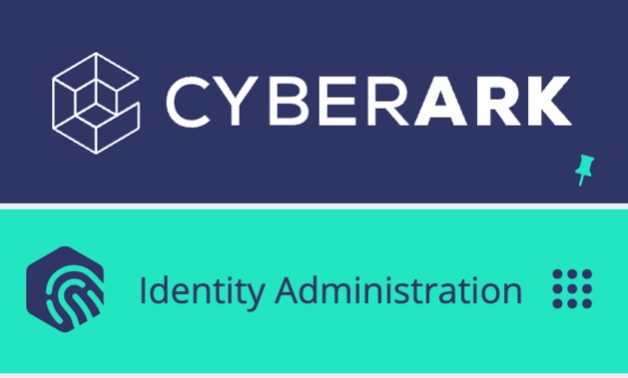
Select the grid symbol next to Identity User Portal and choose Admin Portal.
Step 2 — Create a SCIM client role
-
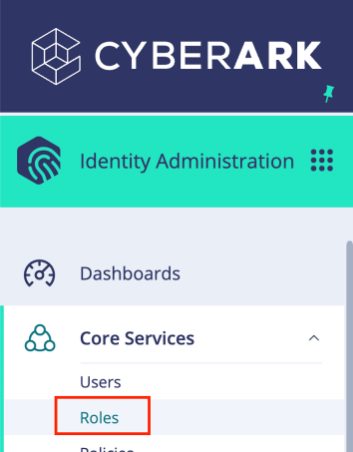
Go to Core Services → Roles.
-
Select Add Role, name it
SCIM Client, and select Save. -
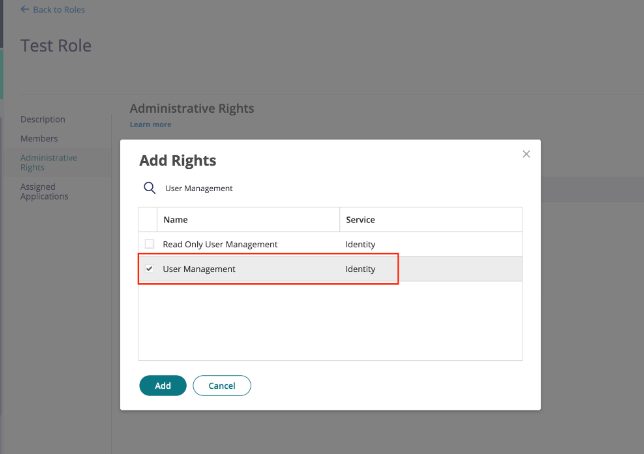
Under Administrative Rights, select Add, then find and select User Management.
Choose User Management, not Read Only User ManagementThe read-only variant does not grant enough for the connection to work.
-
Select Save.
Step 3 — Create a custom OAuth2 client
-
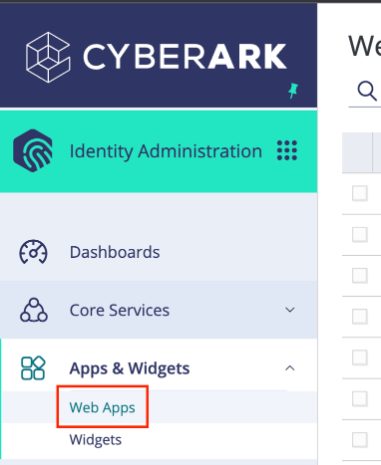
Go to Apps & Widgets → Web Apps.
-
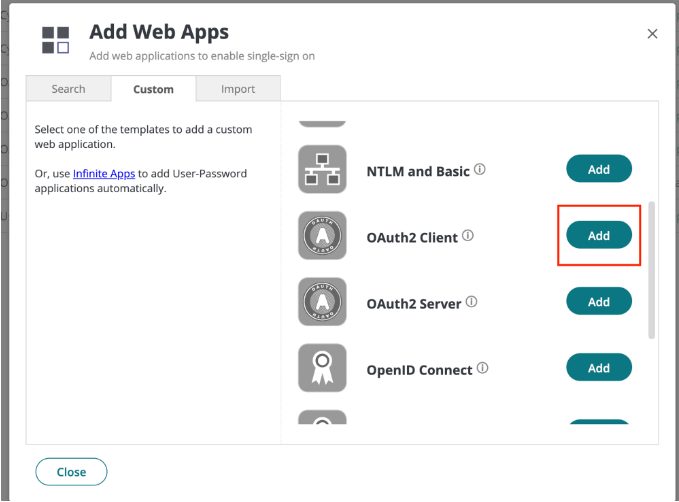
Select Add Web Apps, open the Custom tab, and select Add next to OAuth2 Client.
-
Confirm with Yes, then close the dialog. CyberArk opens the client's configuration.
-
On Settings, set an Application ID — any value you like, for example
scim_oauth_client. This becomes part of the OAuth endpoint URL, and it is the value you enter in Mesh, so note it down. -
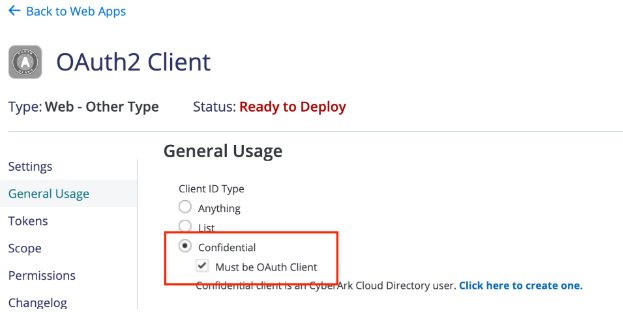
On General Usage, set Client ID Type to Confidential and check Must be OAuth Client.
-
On Tokens, set:
Field Value Token Type JwtRS256Auth methods Client Creds Access token lifetime 5 hours 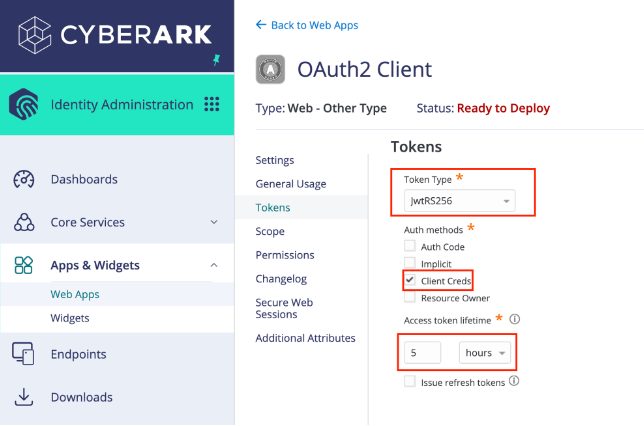
-
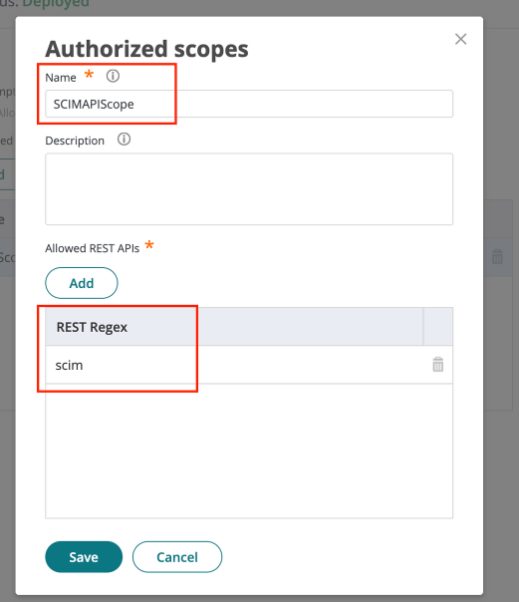
On Scope, select Add and create a scope named
SCIMAPIScope, then add an allowed REST API entry with the textscim.Enter these values exactlyBoth the scope name and the REST API entry are matched literally. A typo here surfaces later as an authorization failure that looks unrelated.
-
On Permissions, add the SCIM Client role from Step 2 and check the Run permission.
-
Select Save.
Step 4 — Create a service user
Go to Core Services → Users and create a service user for the connection. Note its client ID and secret — these are the credentials Mesh authenticates with, and they belong to the SCIM Client role you created.
Step 5 — Connect in Mesh
Follow Connect your HR system, choose CyberArk in the connection window, and supply the tenant URL, application ID, client ID, and client secret.
After connecting
The connector appears in your connectors list with Health: Initializing while the first collection runs, then moves to Good. Access is read-only: Mesh does not write back to CyberArk.
If it doesn't come online, see Troubleshoot HR connectors.
Troubleshooting
| What you see | Likely cause | Fix |
|---|---|---|
| Authorization is rejected | The scope name or the scim REST API entry has a typo | Re-check both on the client's Scope page, exactly as shown |
| The connector authorizes but reads nothing | The role has Read Only User Management rather than User Management | Change the administrative right on the SCIM Client role |
| The client cannot be used | The SCIM Client role was not added on the Permissions page, or Run is unchecked | Add the role and check Run, then save |