Connect your HR system
This guide is for Mesh administrators. You'll add the unified HRIS connector, authorize Mesh inside your HR provider, and confirm the connector starts syncing.
One connector covers every supported HR platform — see HR system connectors for the list. There is nothing to install per provider.
There are two ways in — System configurations and the AI assistant. Both run the same flow and produce the same connector, so use whichever you prefer.
The walkthrough below connects UKG Pro as a worked example. Everything on the Mesh side is the same whichever provider you choose. Only the authorization screens in Step 3 differ, and those come from your HR provider — so expect different fields, not a different flow.
Before you begin
- A Mesh administrator account with permission to manage connectors.
- Admin access to your HR system, or a colleague who has it. The authorization step happens inside your HR provider, not in Mesh, and you don't have to be the one who completes it — see If you don't administer the HR system.
- For Workday, complete the Workday-side configuration first — an Integration Systems User with the right domain security policies. See Workday setup. Without it, the authorization step cannot succeed.
If your tenant is configured for a region where HR data cannot be routed, the HRIS option is unavailable and Mesh will not start a connection. This is deliberate: Mesh blocks the setup rather than collecting data it should not route. Contact Axiad Customer Success if you believe this is applied incorrectly.
Option A — from System configurations
Step 1 — Open the connectors list
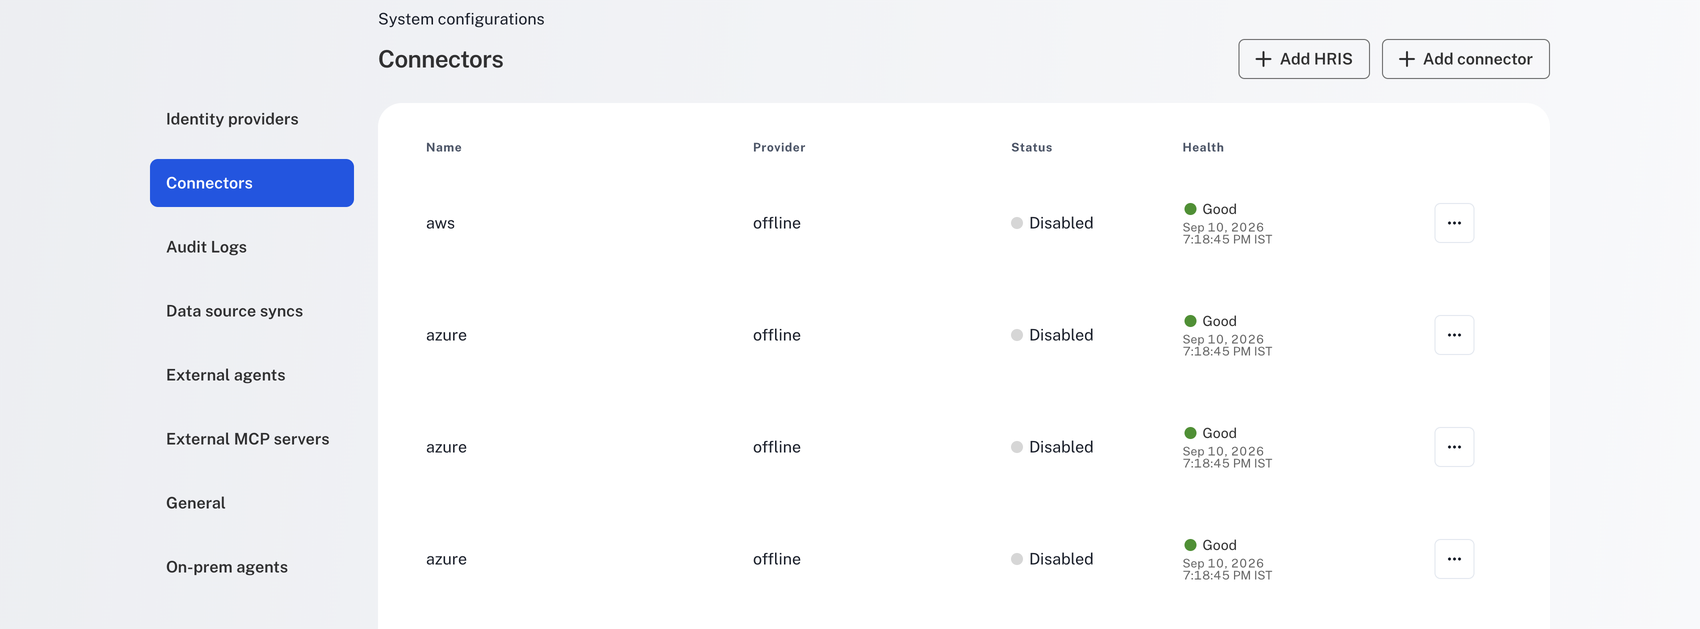
In the Mesh dashboard, go to System configurations > Connectors. This page lists every connector configured for your tenant, with a Status column showing whether each one is turned on and a Health column showing how it's doing.
Step 2 — Select Add HRIS
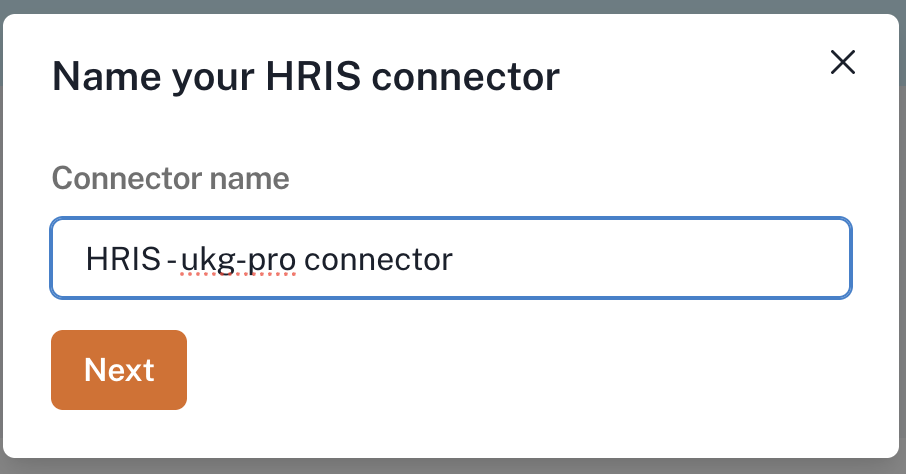
Select Add HRIS and give the connector a name. This is the name you'll see
in the connectors table afterwards, so choose something recognizable — for example
Workday — Global.
Step 3 — Choose your provider and authorize
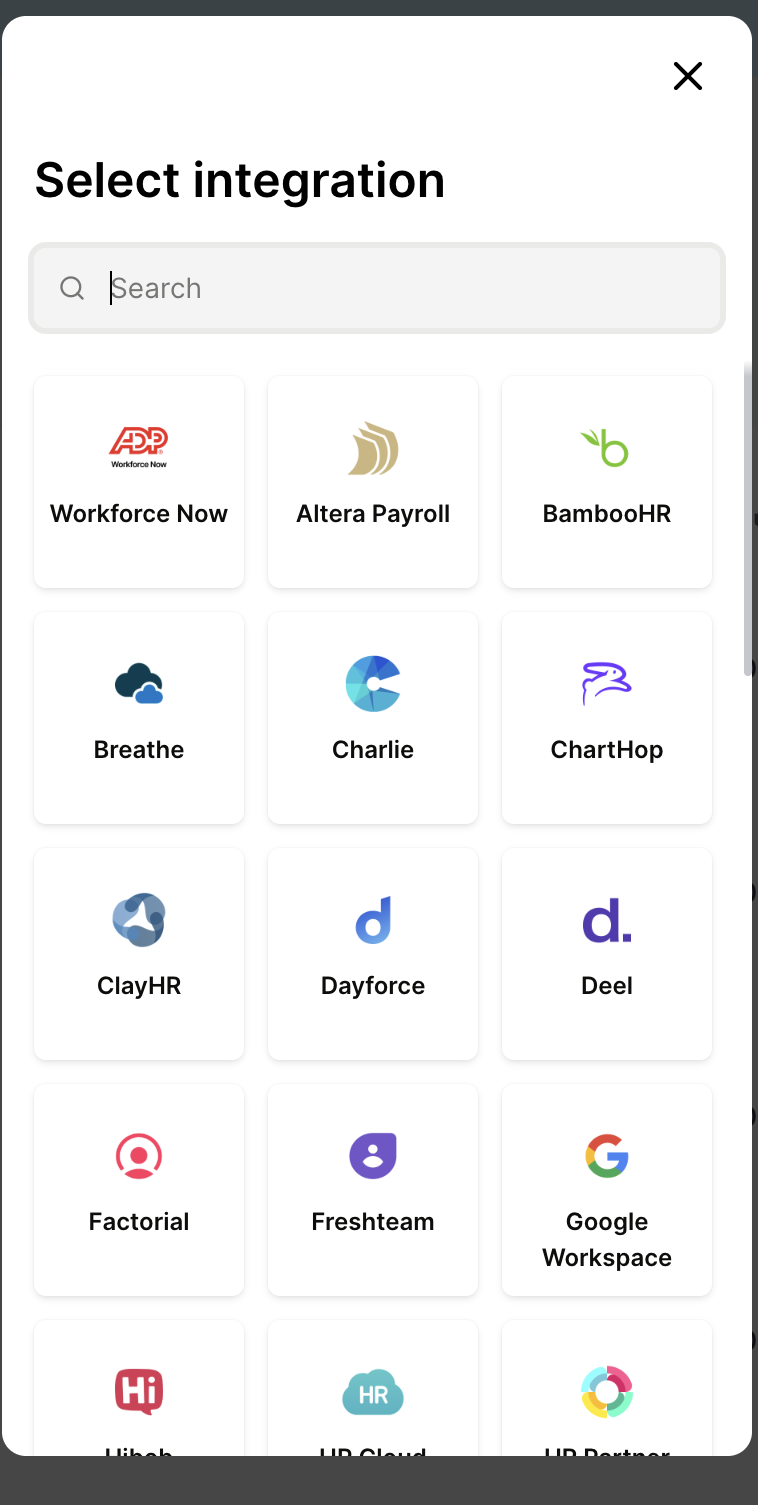
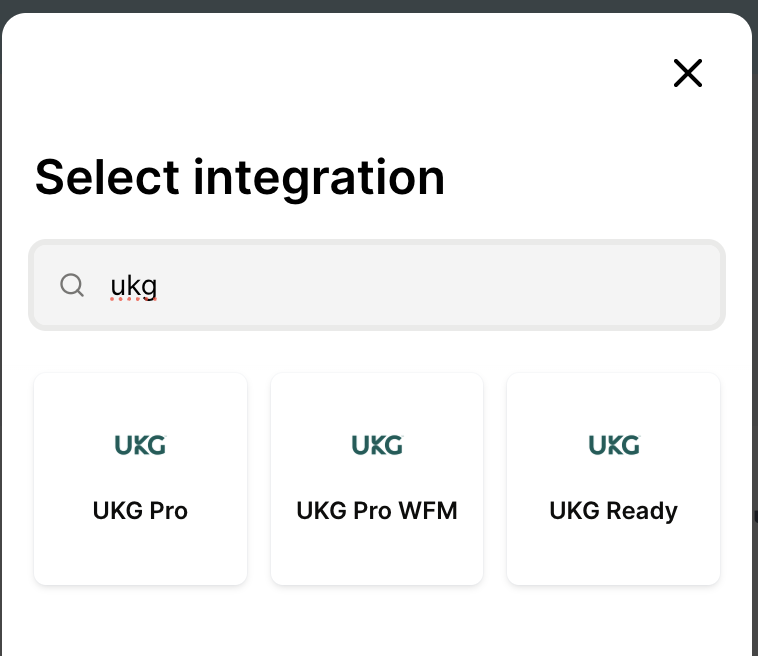
Mesh opens a secure connection window. Pick your HR provider from the list, or type its name to narrow it down.
From here the window is run by your HR provider and carries its branding, not Mesh's. What you're asked for depends on the provider — typically a sign-in, or a credential you generated in the HR system. Mesh never sees your HR password; the credential is exchanged directly with your provider.
Some providers need configuration on their side before you reach this point — a service account, an API key, or specific read permissions. Check Provider setup guides for yours and complete it first.
If your provider isn't listed there, check its own administrator documentation for how to create a read-only API credential, or ask Axiad Customer Success.
If you don't administer the HR system
Many providers require an administrator of the HR system to complete the connection. If that isn't you, you don't need to find someone to sit at your screen — the window offers a link that hands off the whole authorization.
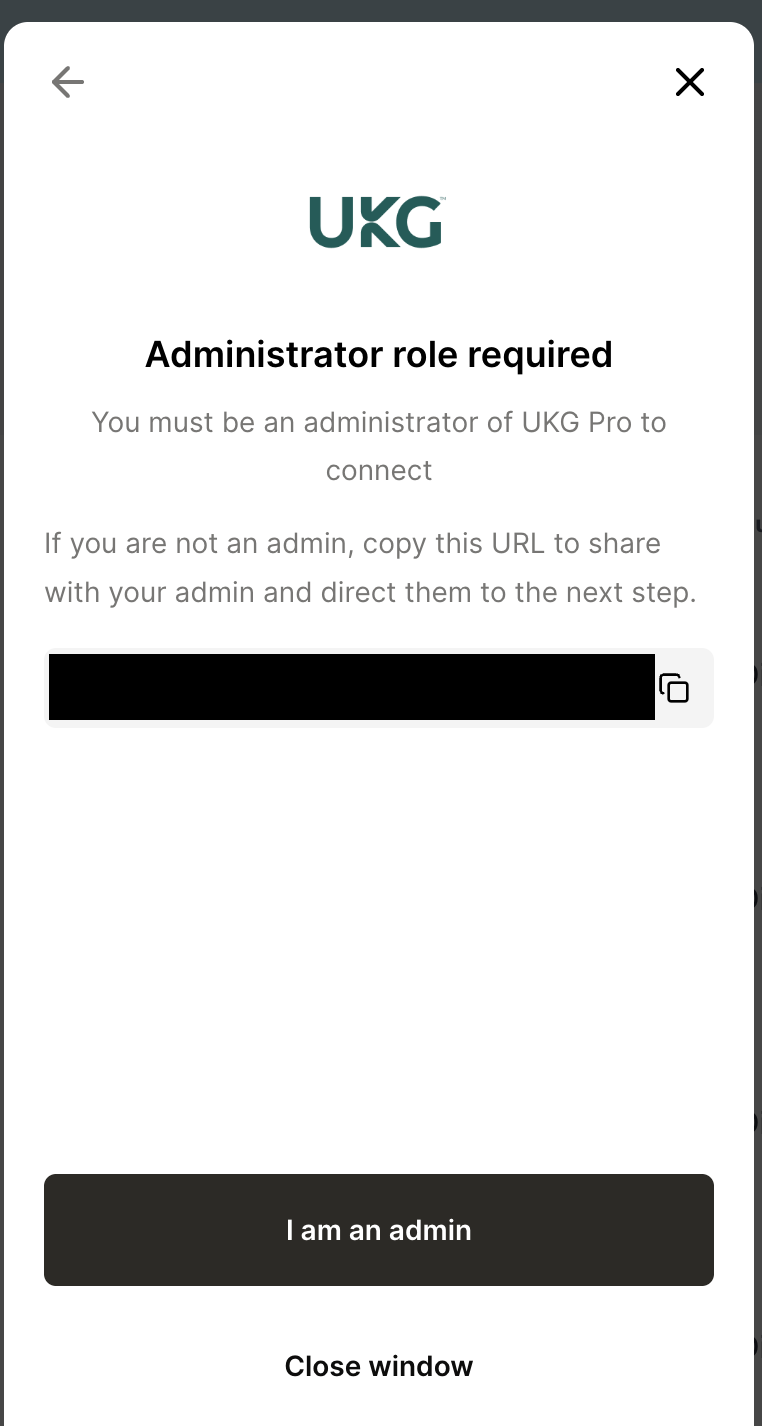
- Copy the URL and send it to whoever administers your HR system — often the HR or IT team rather than a named person.
- They open it in their own browser and continue from the next step. They never sign in to Mesh and don't need a Mesh account — the link opens the authorization flow on its own.
- When they finish, the connector you named in Step 2 appears in your connectors list and starts syncing. There is nothing further for you to do.
Anyone who opens it can complete this connection, so send it over a channel you'd trust with any other setup secret.
If you do administer the HR system, select I am an admin and carry on.
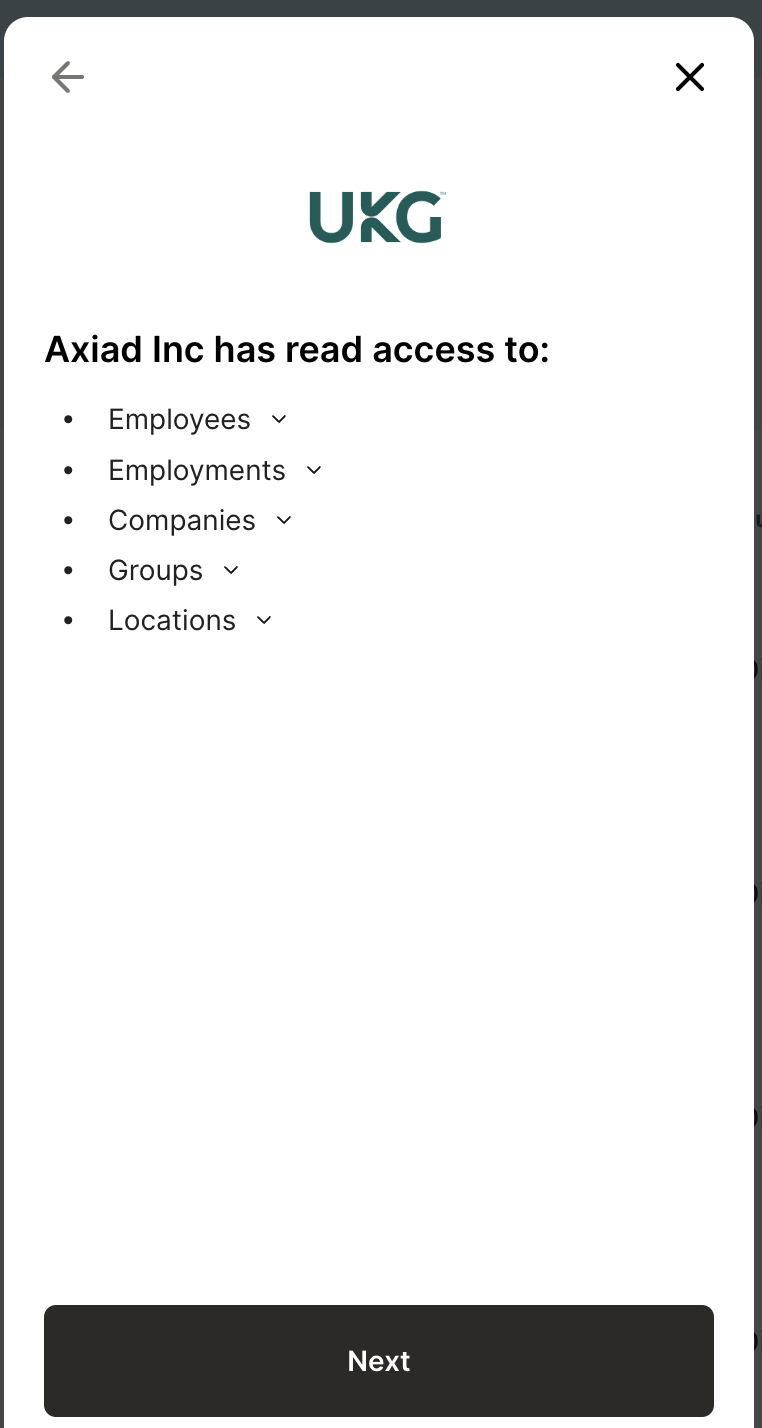
Review what Mesh will read
Before asking for credentials, the window shows exactly which record types Mesh will read — employees, employments, companies, groups and locations. Expand any entry to see the individual fields.
Access is read-only. Mesh does not write back to your HR system.
Provide the provider's credentials
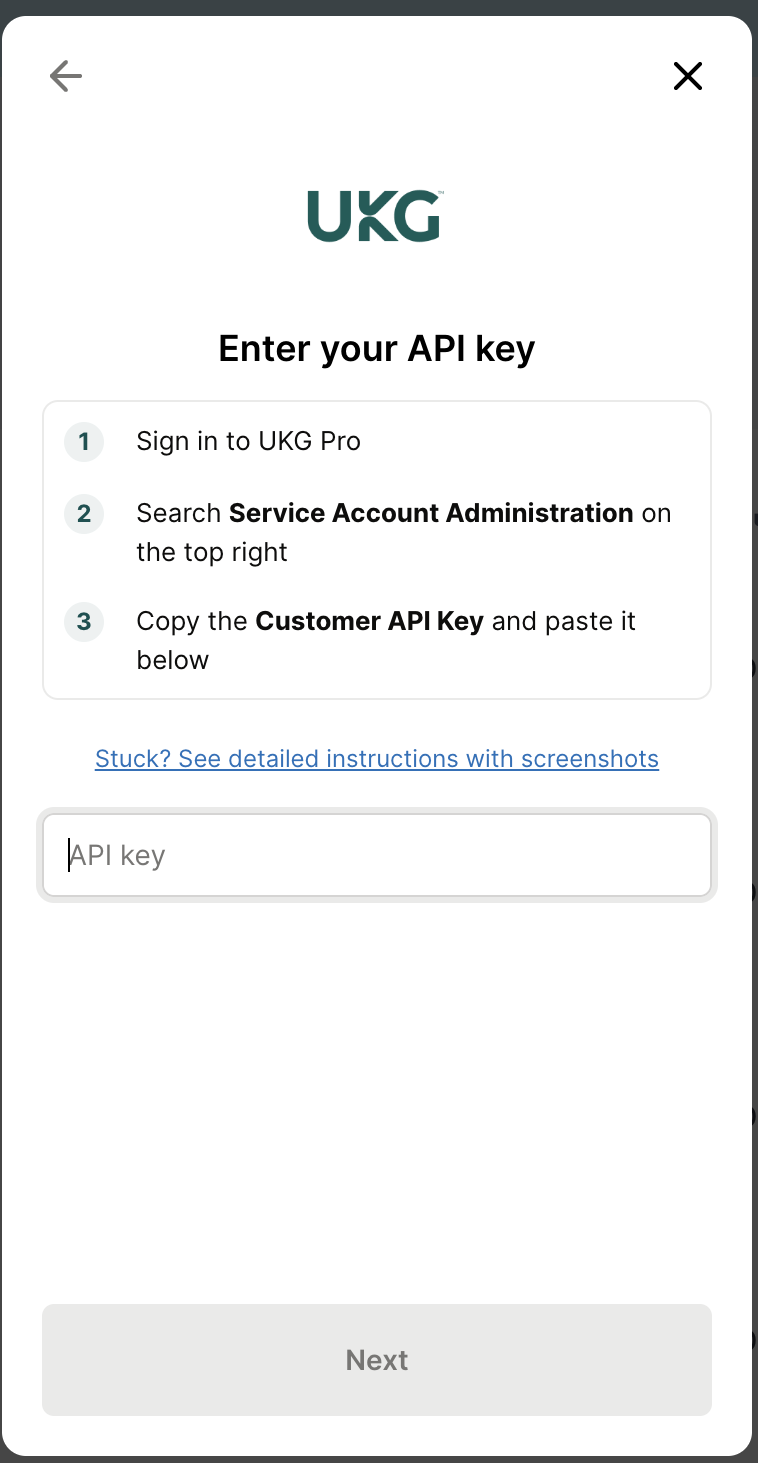
This is the part that varies. UKG Pro asks for three things in sequence, each with its own in-window instructions and a Stuck? See detailed instructions with screenshots link:
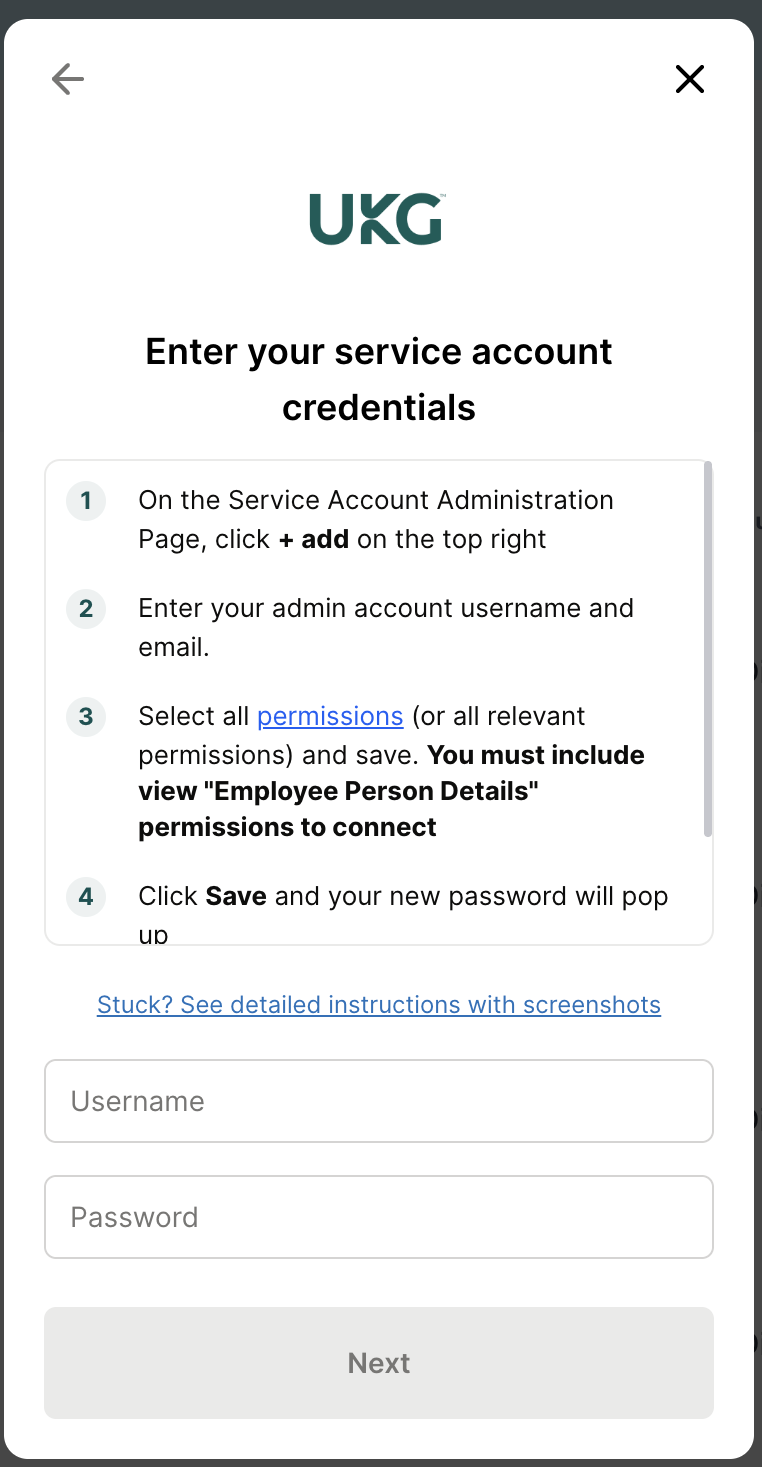
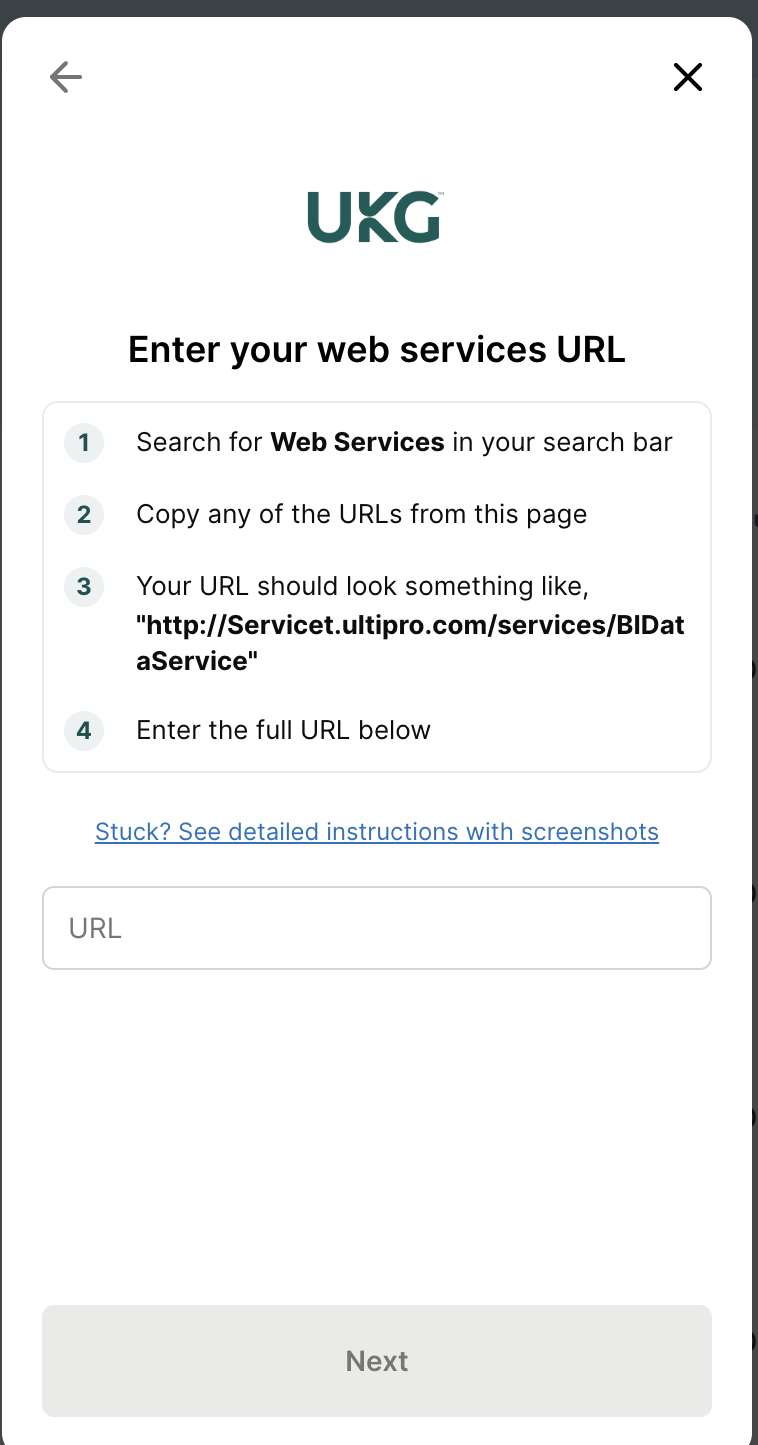
Your provider may ask for none of these and simply sign you in instead. Follow whatever the window shows.
Some providers — Workday and UKG Pro among them — have several authorization steps. The window stays open while you work through them; Mesh doesn't cut you off partway.
Finish the connection
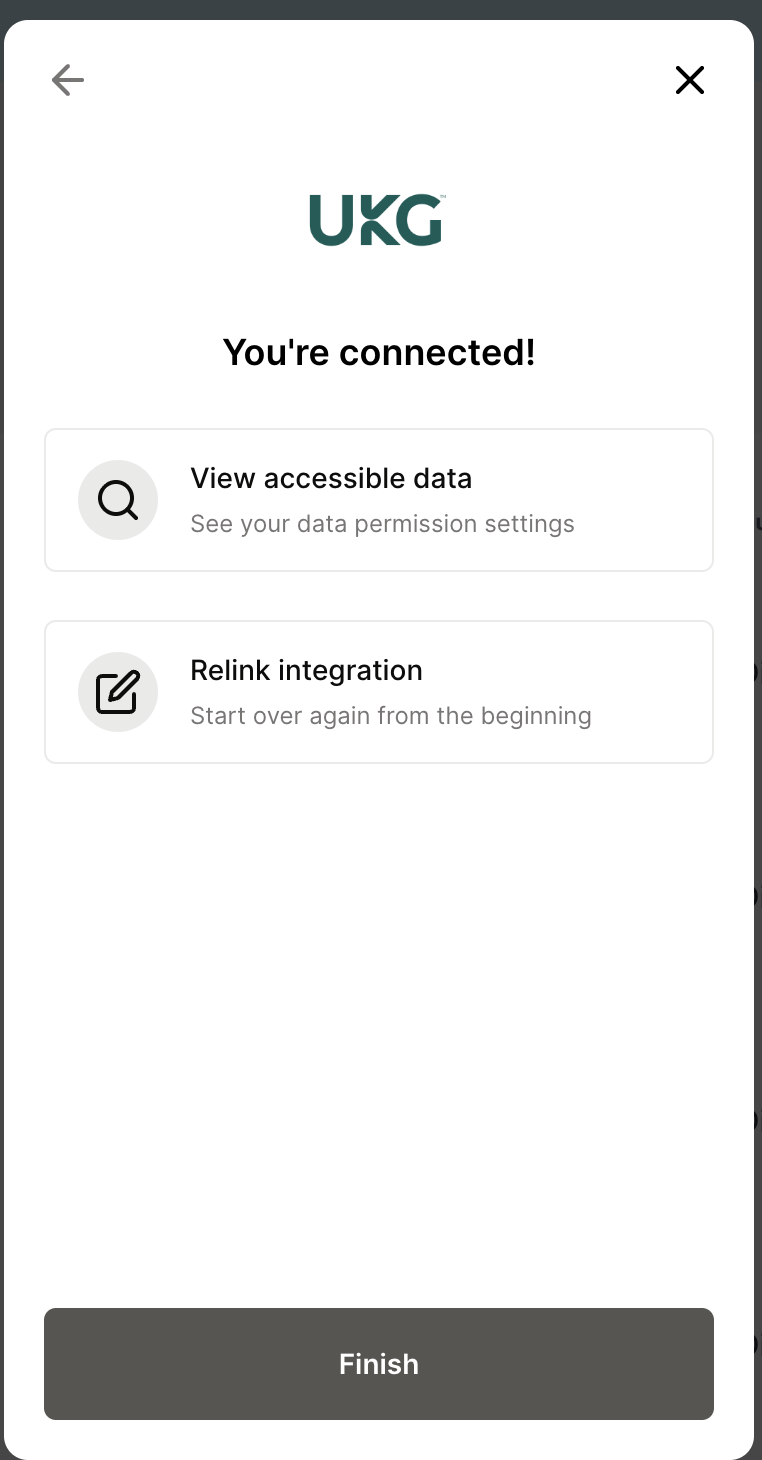
The provider sets up the account, confirms what Mesh can access, and reports success.
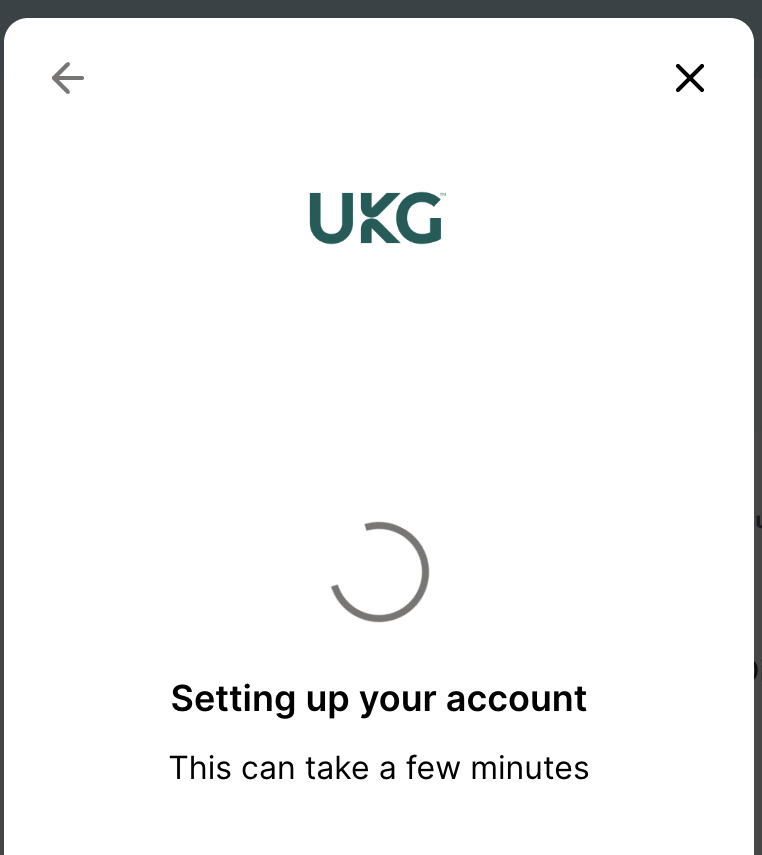
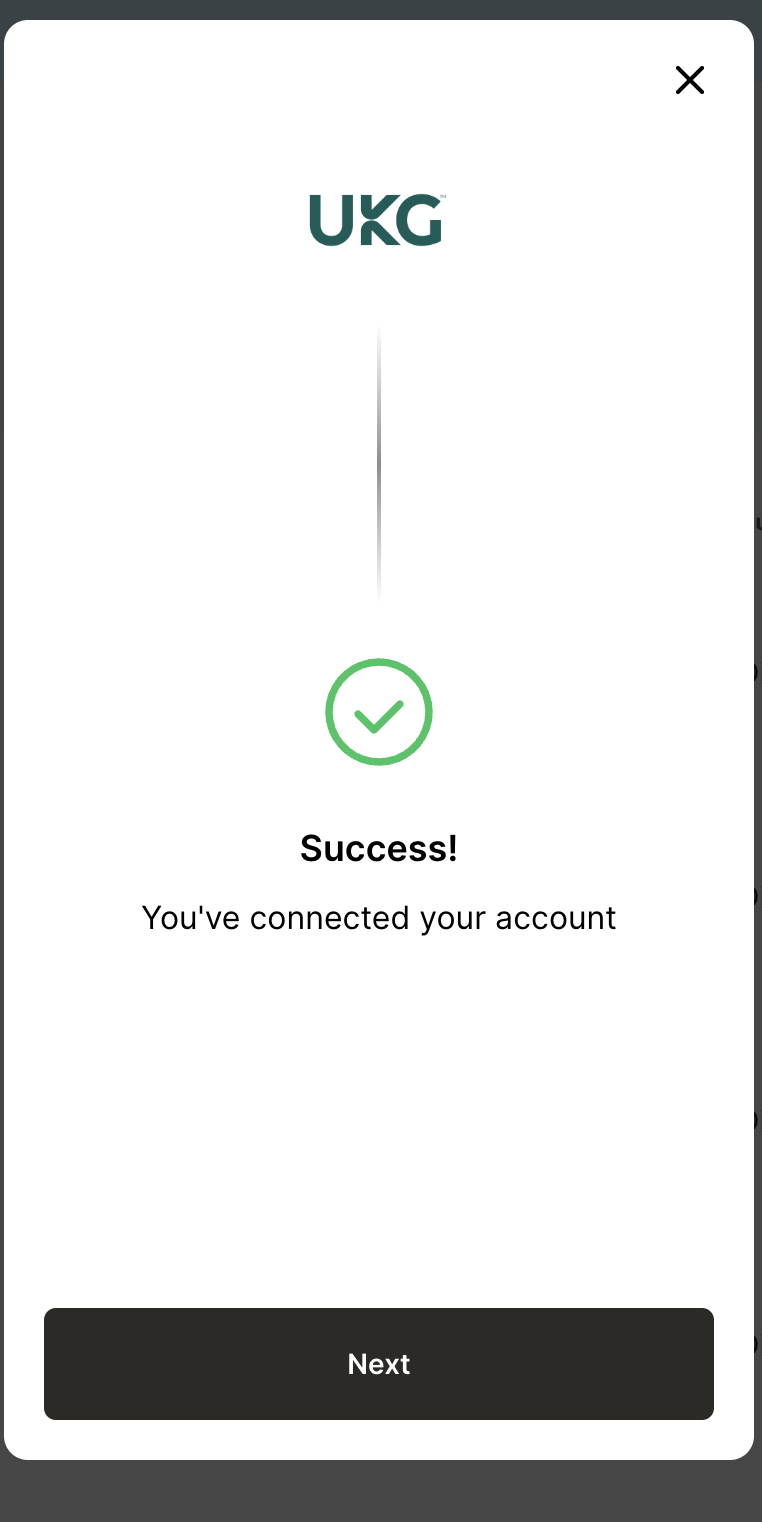
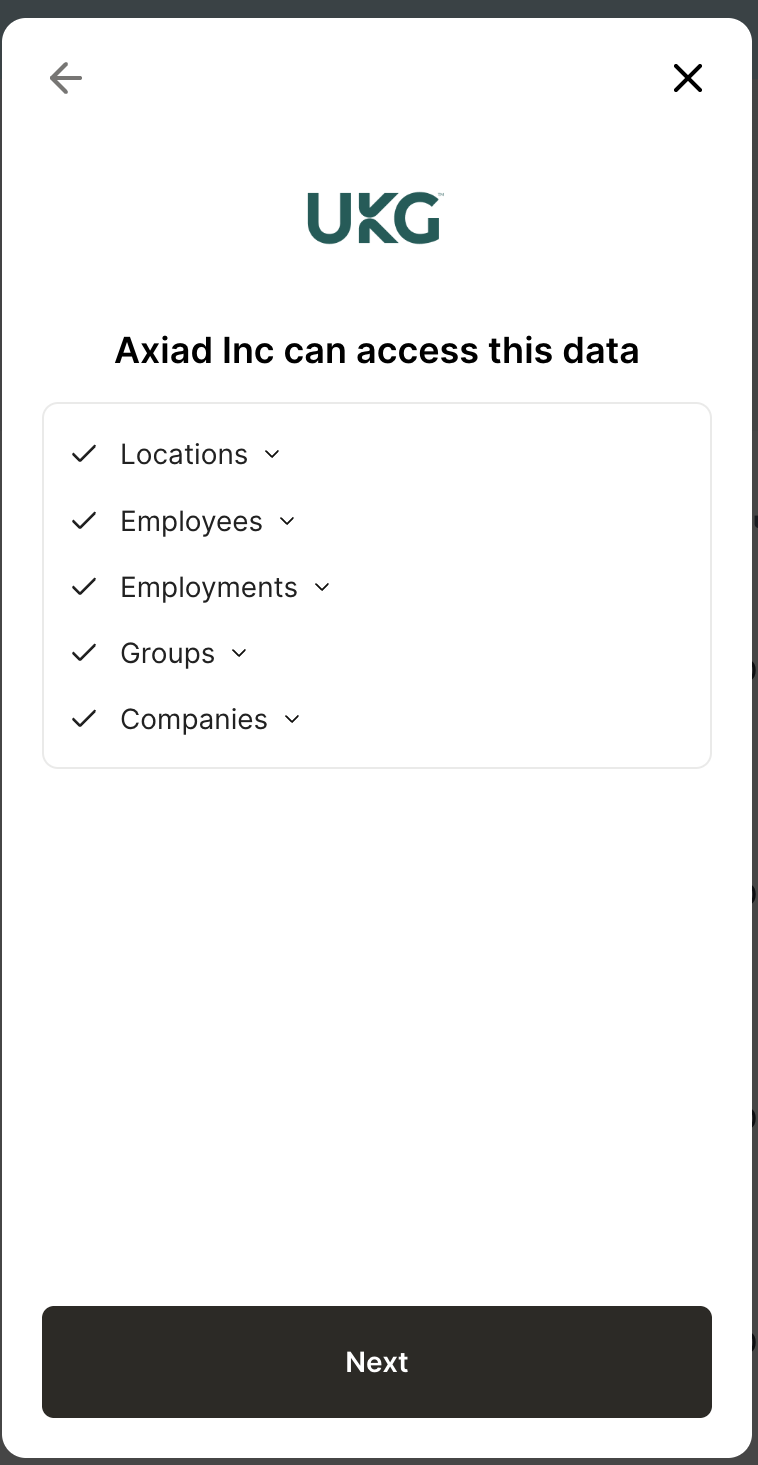
Select Finish on the last screen to close the window and return to Mesh.
Step 4 — Confirm the connector appears
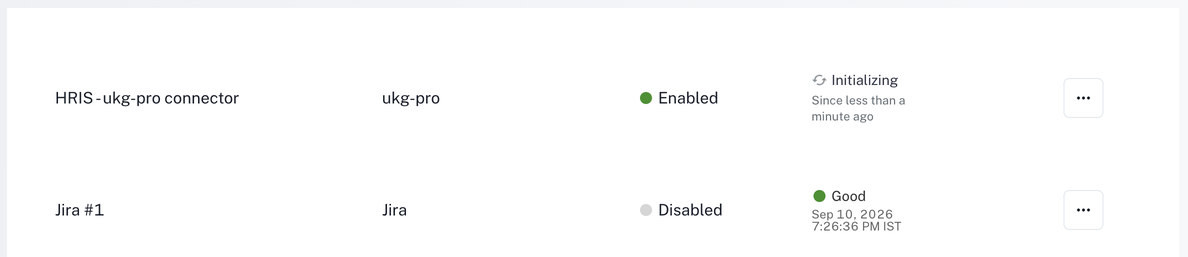
The new connector appears in the connectors table straight away, with Status Enabled and Health Initializing.
Option B — from the AI assistant
Ask the Mesh AI assistant to connect your HR system — for example, "connect our Workday".
The assistant replies with an action card in the chat. Select it and the same connection window opens as in Option A. Continue from Step 3.
Step 5 — Wait for Health to reach Good
The Connectors screen there shows separate Health and Sync status columns. There, Initializing → Good below reads as Sync status Starting → Good, with Health Unknown or Healthy meanwhile. See Read the Connectors page.
The two columns tell you different things:
- Status is whether the connector is turned on. A new connector is Enabled from the moment it's created.
- Health is how it's actually doing. It reads Initializing while Mesh waits for your HR provider to confirm the connection and signal that the first sync is ready, then Good once data is flowing.
How long that takes depends on your provider and how much history it prepares — minutes for a small directory, considerably longer for a large one on its first full sync.
Mesh won't fail the connector, prompt you to retry, or turn it red merely because time has passed. If it stays at Initializing far longer than your directory size explains, see Troubleshooting — don't delete and recreate it as a first move.
Step 6 — Confirm data is arriving
Open the connector's actions menu and select View collections.

The drawer shows when the connector last ran, when it runs next, and how many records of each type it has ingested.
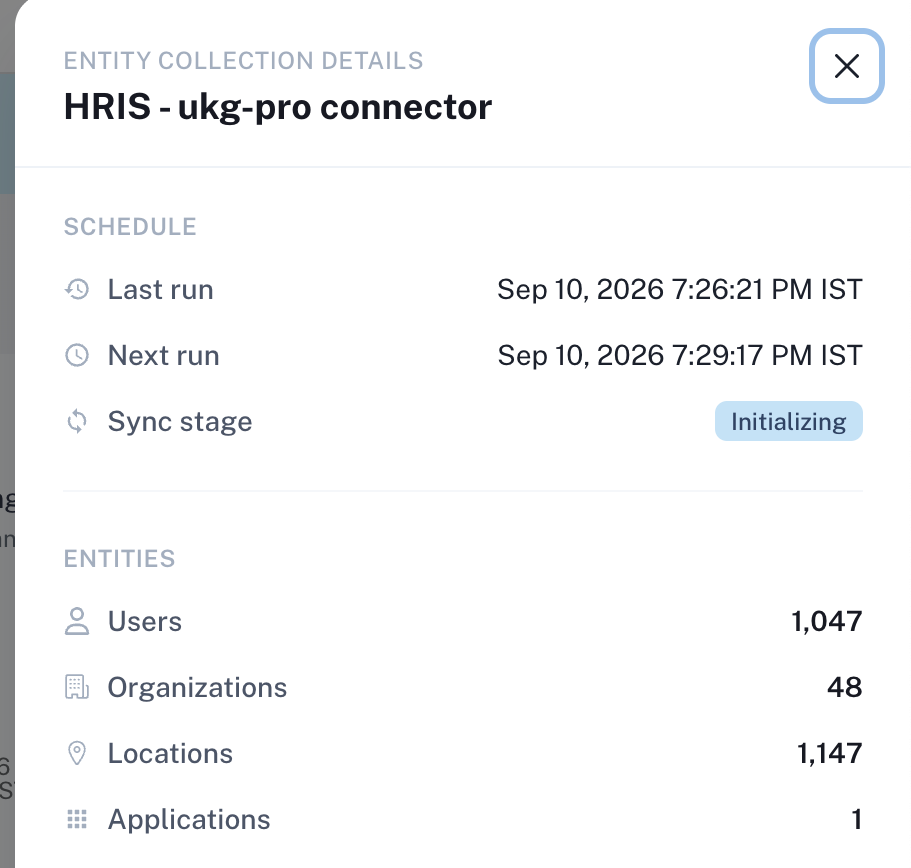
If Health reads Good but the counts stay empty after the first sync has had time to finish, see Troubleshooting.
What happens next
- Mesh syncs on a schedule using incremental syncs: after the first run, each sync asks your provider only for records changed since the last successful one.
- Employment-status changes flow into your identity graph, so joiners, movers and leavers are reflected without manual work. See Employment status.