Complete your Marketplace onboarding
Welcome to Axiad Mesh! After you purchase Axiad Mesh from the Azure Marketplace, a short wizard helps you finish setting up your account. This guide walks you through every screen, in order, exactly as you'll see it. It takes about 10 minutes.
Before you begin
- You've purchased Axiad Mesh on the Azure Marketplace and can open your subscription setup page from Configure account now.
- You'll need three values from your organization's Microsoft Entra ID: a Tenant ID, an Application (client) ID, and a Client Secret Value. Links to Microsoft's official guides are included at each field.
- You know the name of the group that should have administrator access in Mesh.
If you don't have your Microsoft Entra ID details, ask your Microsoft Entra administrator before you start. You can gather them and return to onboarding.
Step 1 — Start onboarding
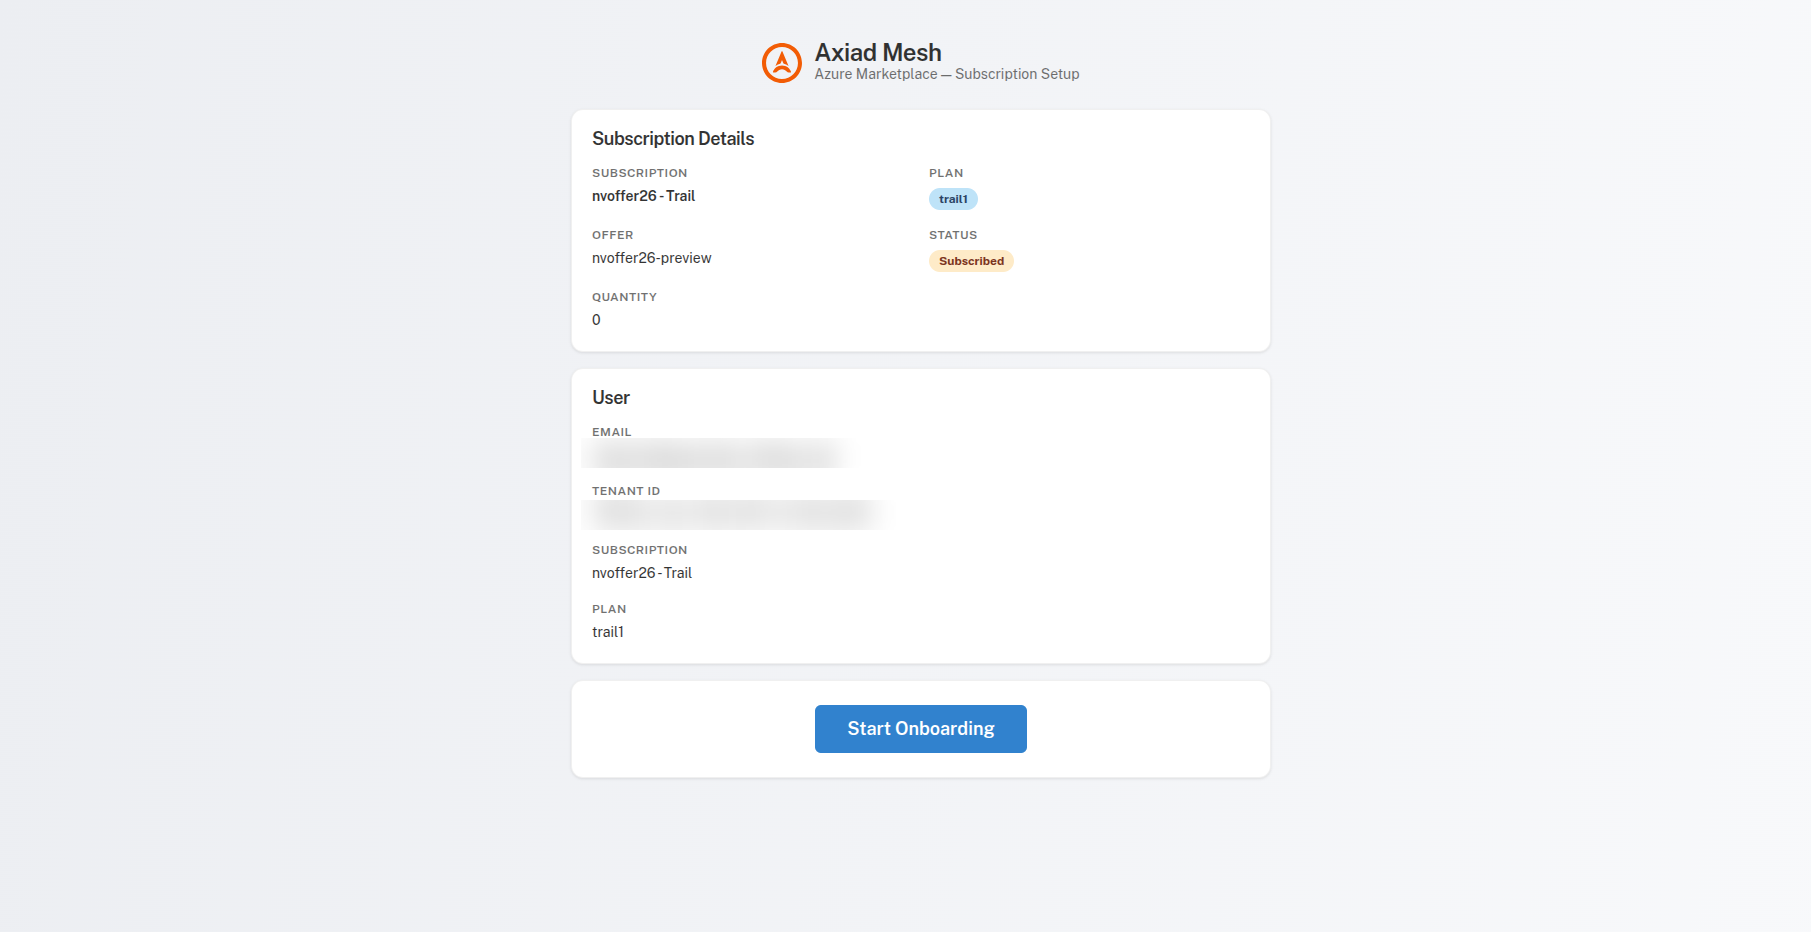
After you select Configure account now on the Azure Marketplace, your Axiad Mesh subscription setup page opens. Review your subscription details, then select Start Onboarding.
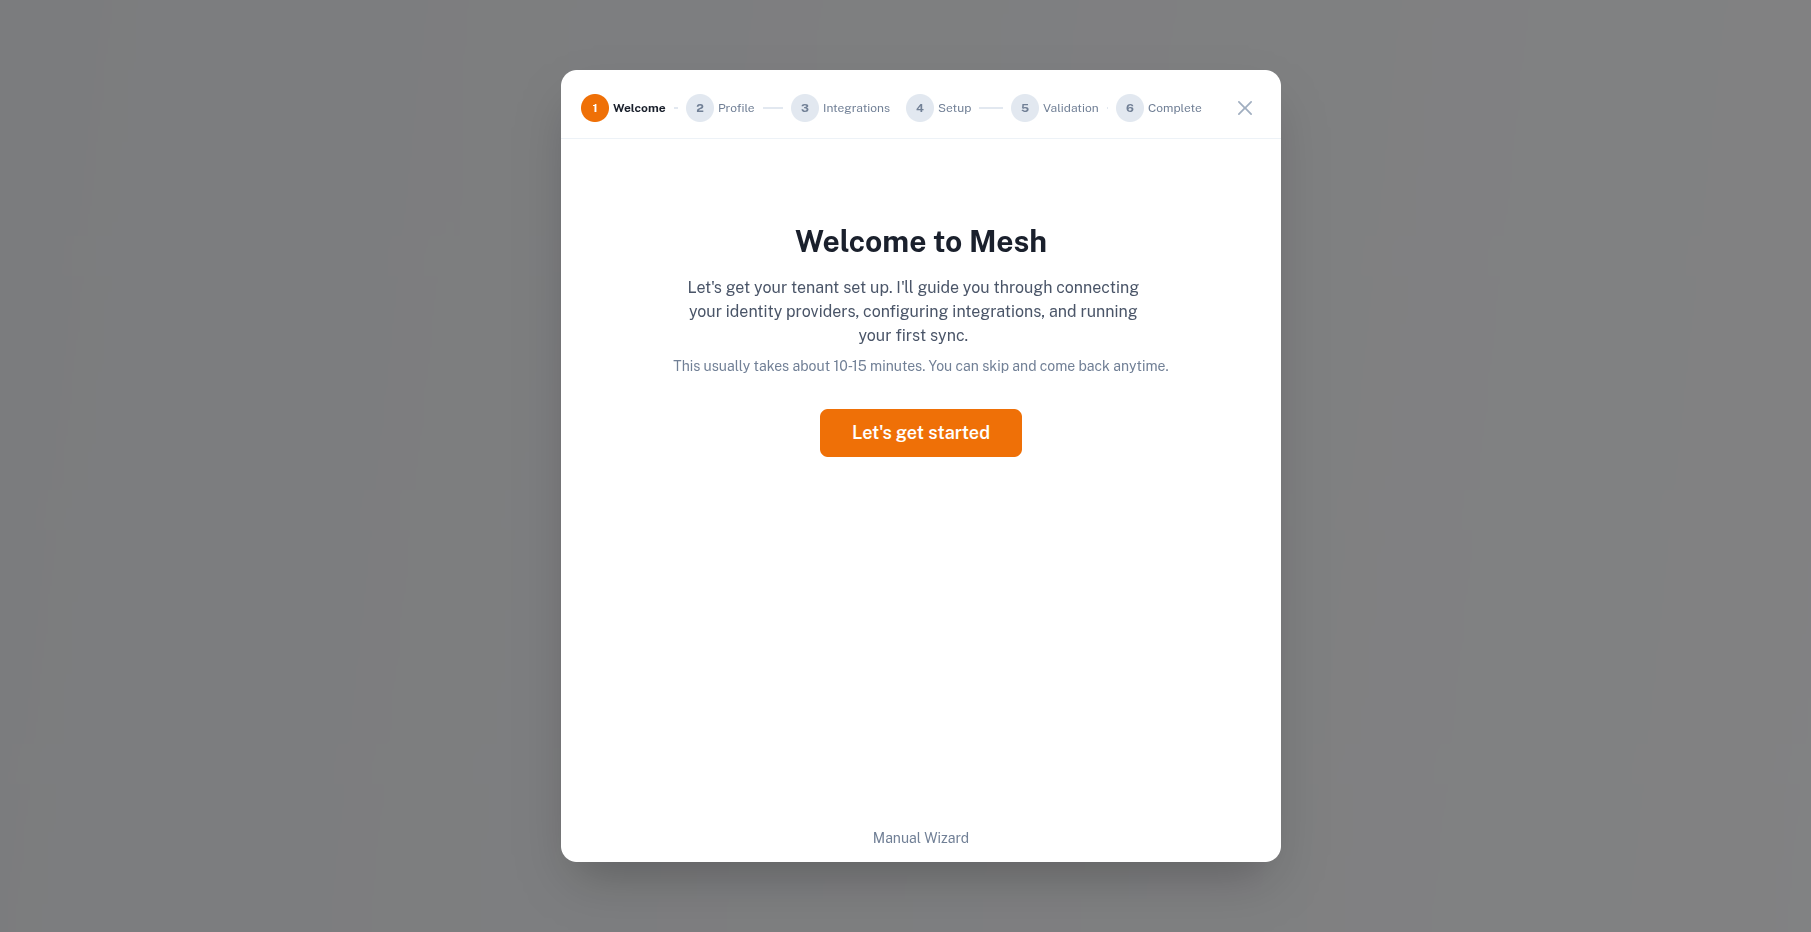
The onboarding wizard opens on a welcome screen. At the bottom of the screen, select Manual Wizard to set up your account step by step.
Step 2 — Tell us about your organization
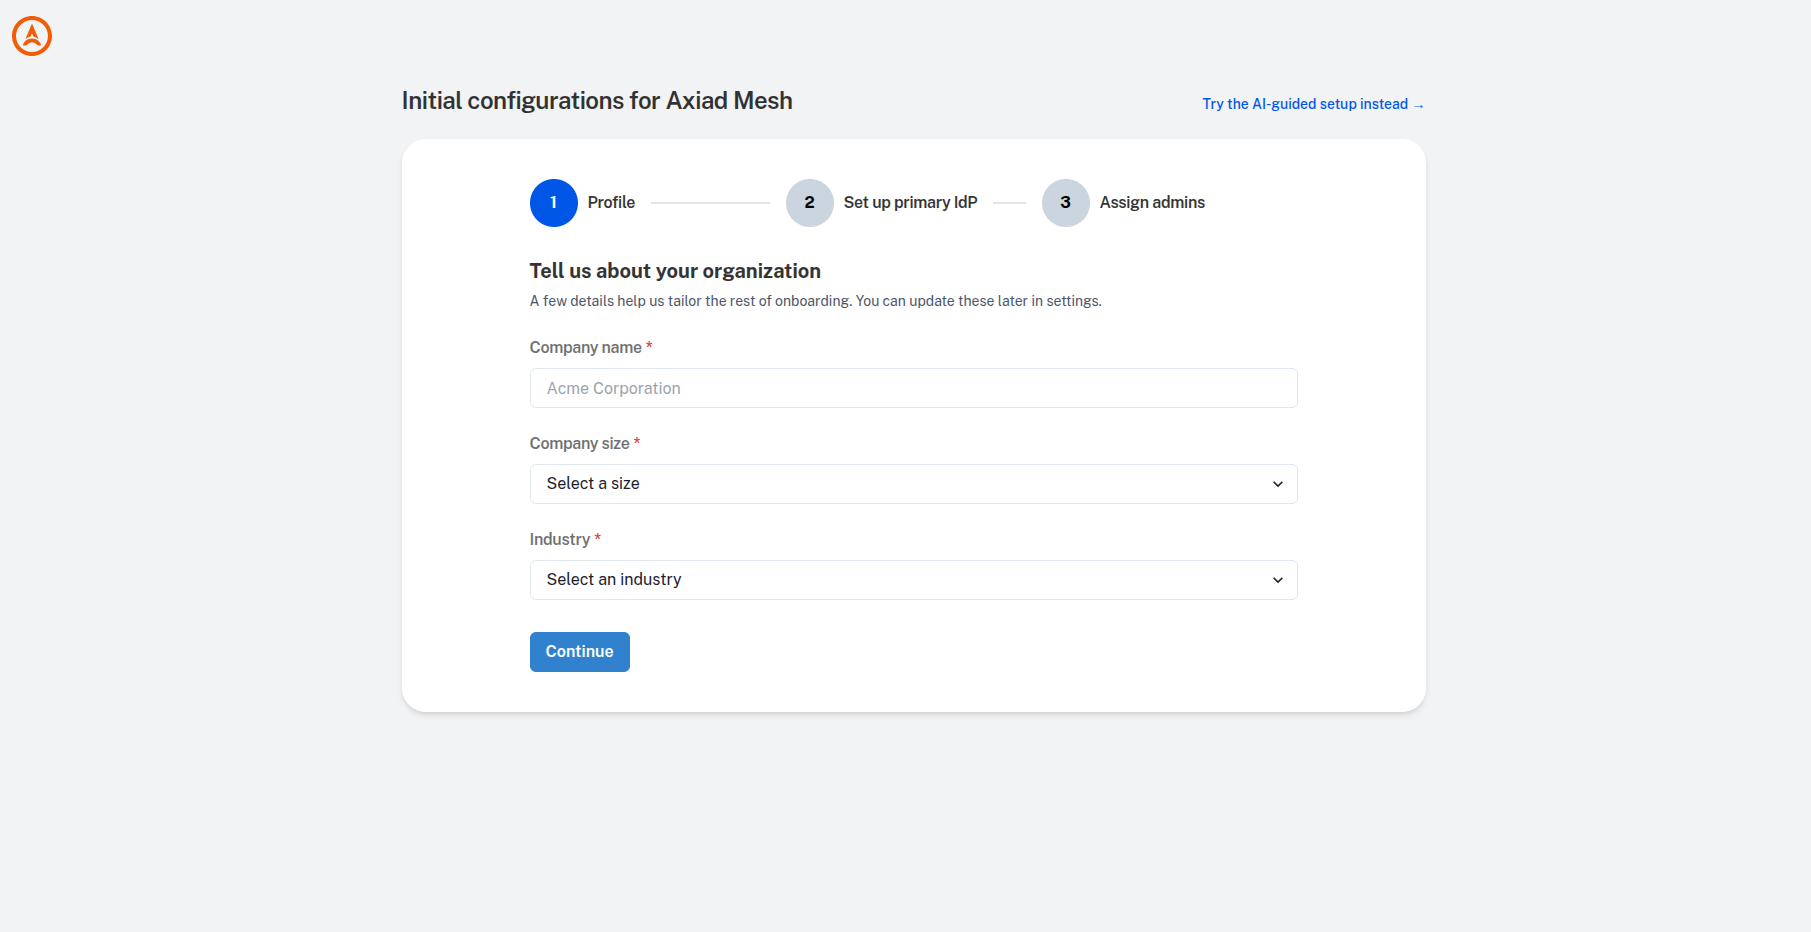
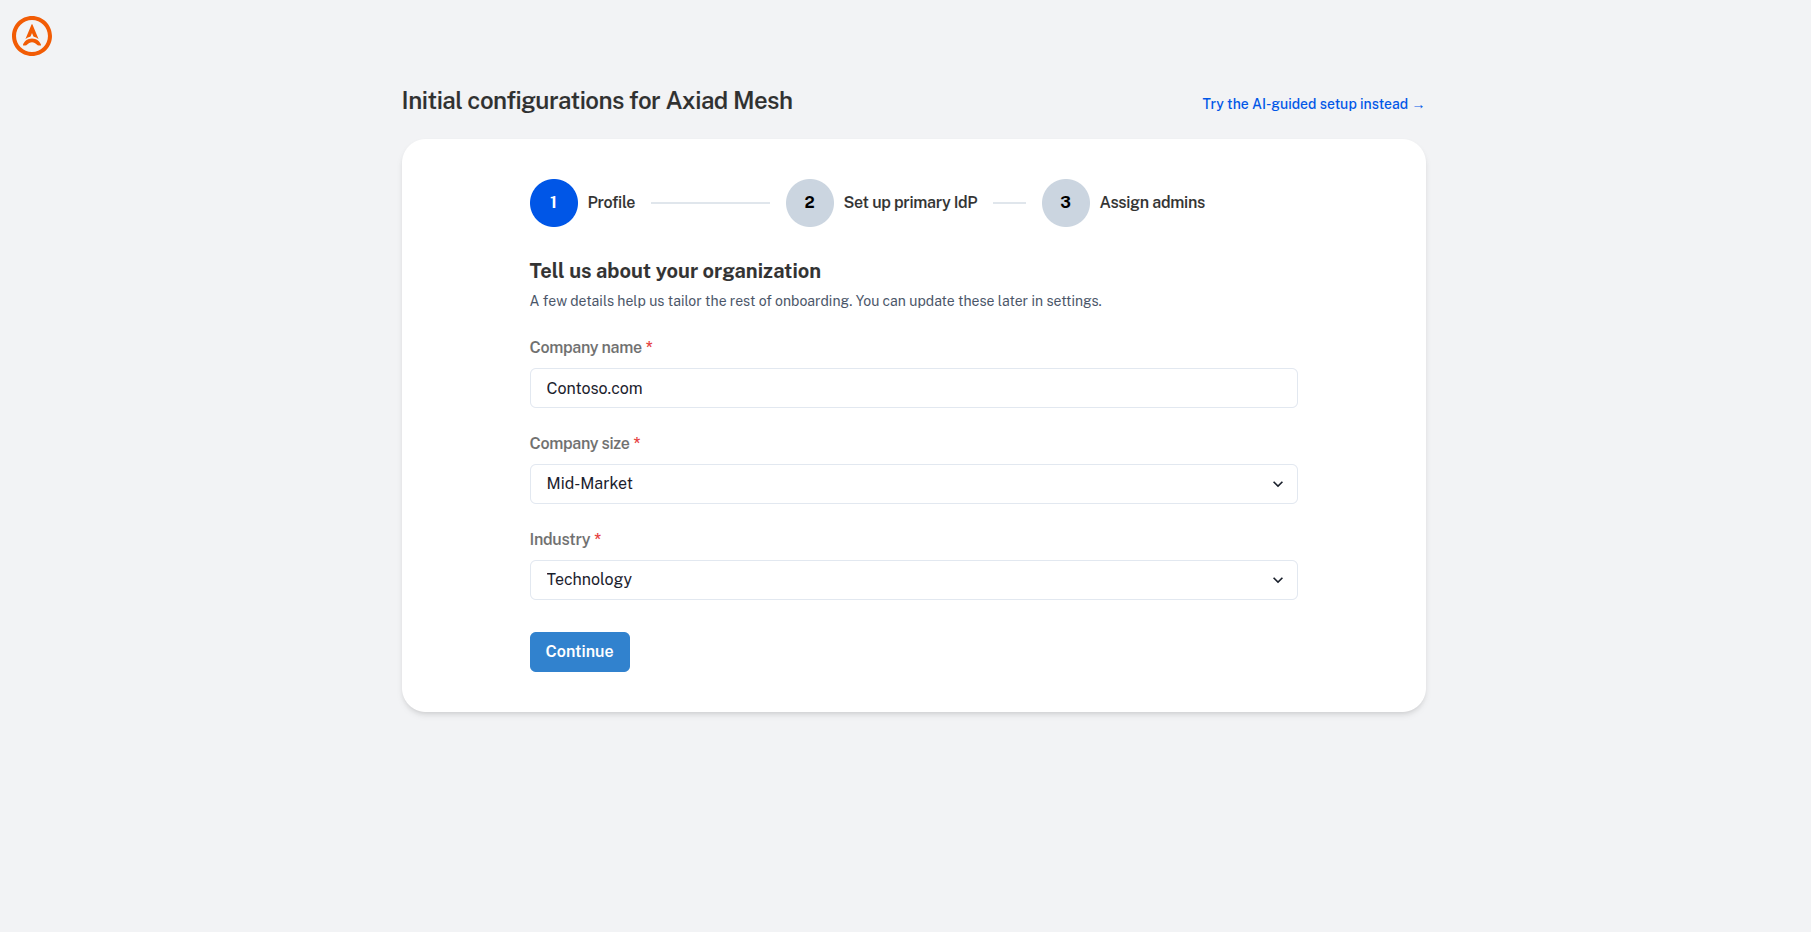
On the Profile step, enter your Company name, then choose your Company size and Industry.
Once your details are filled in, select Continue.
Step 3 — Set up your identity provider
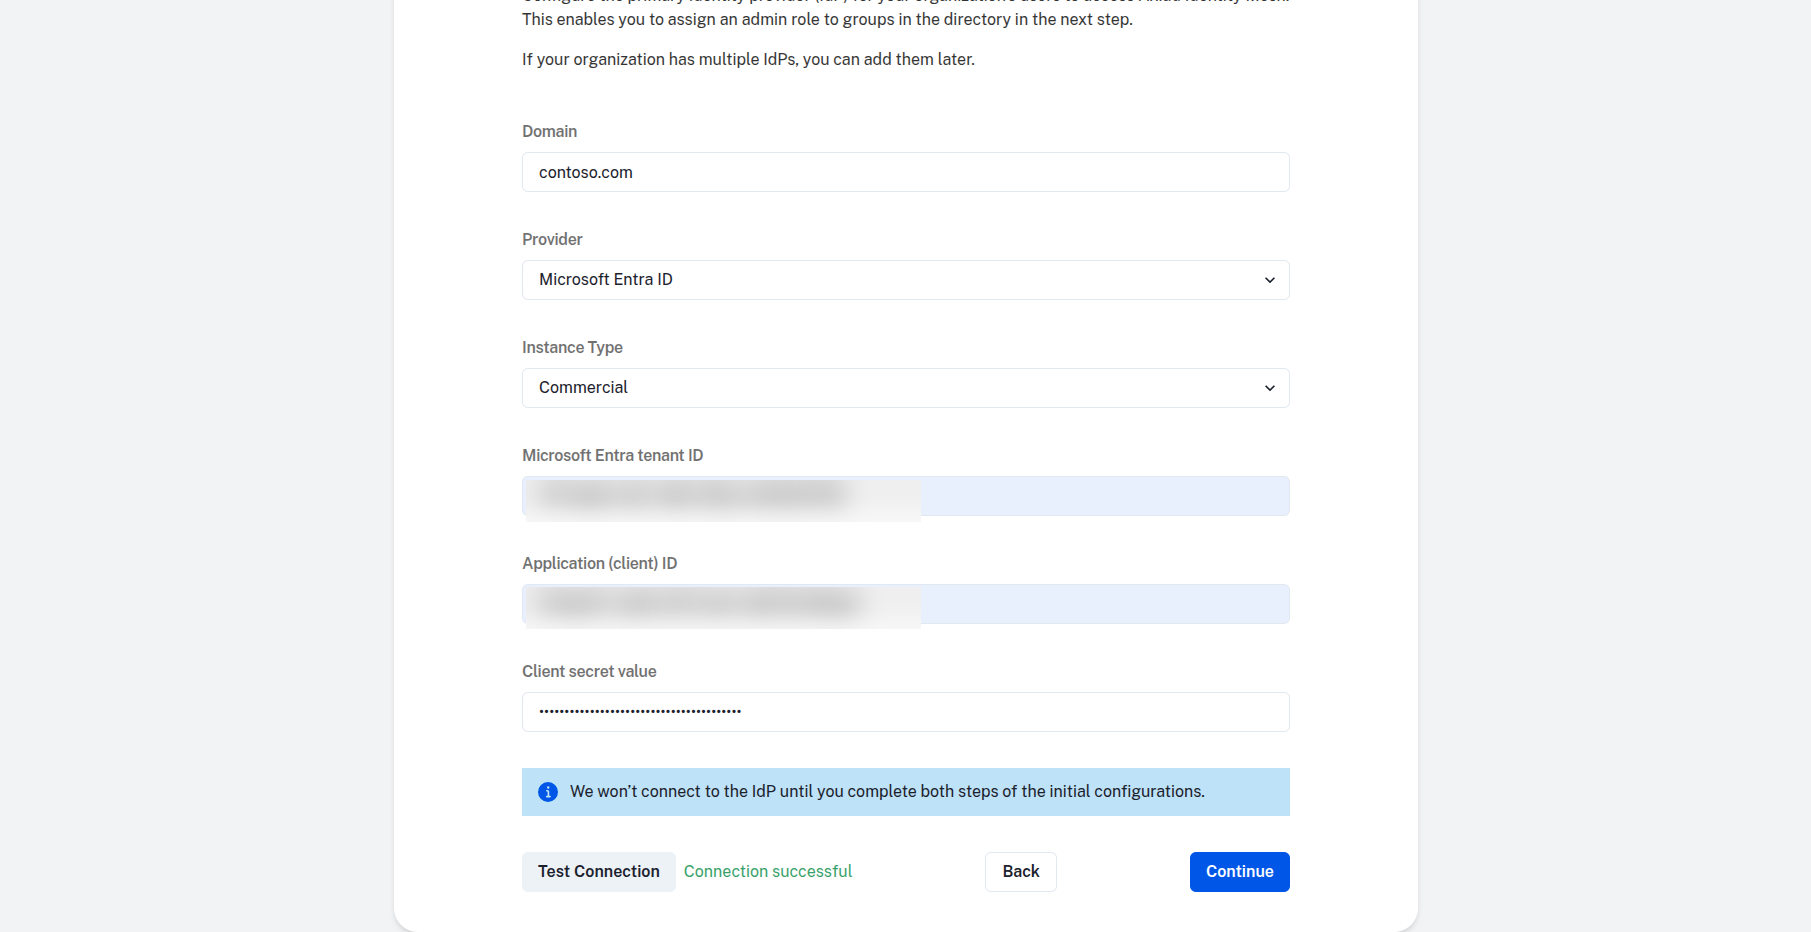
On the Set up primary IdP step, connect Microsoft Entra ID so your team can sign in with the work accounts they already use. You'll see this form:
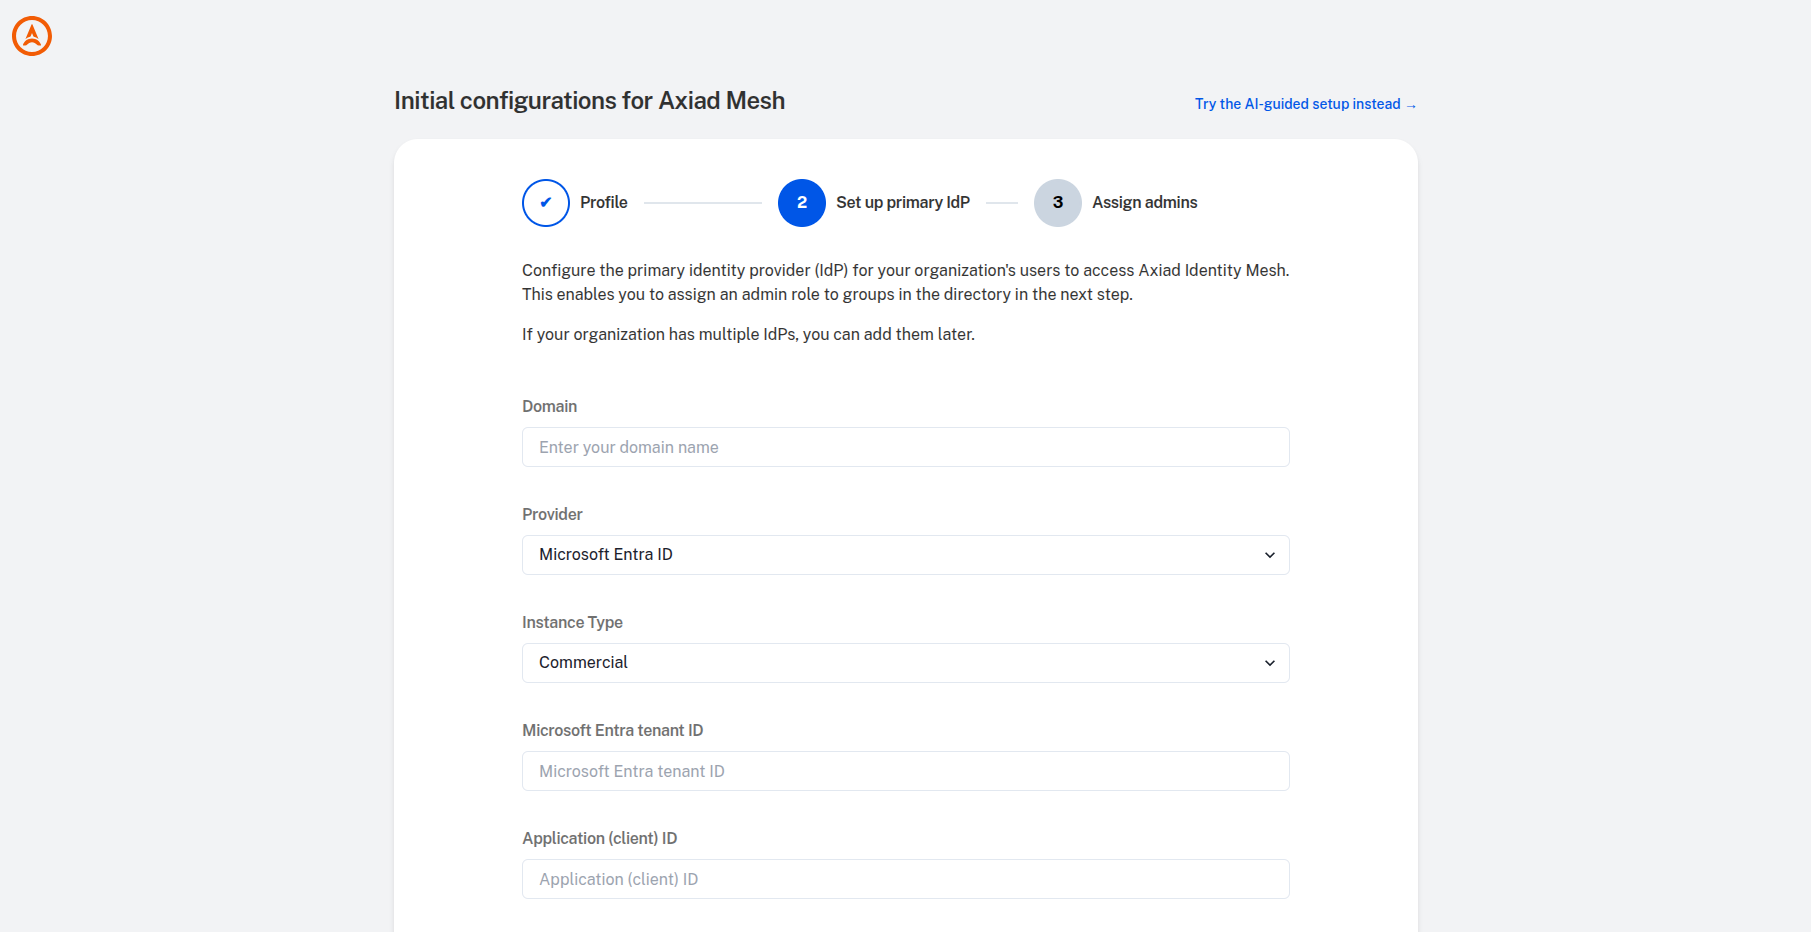
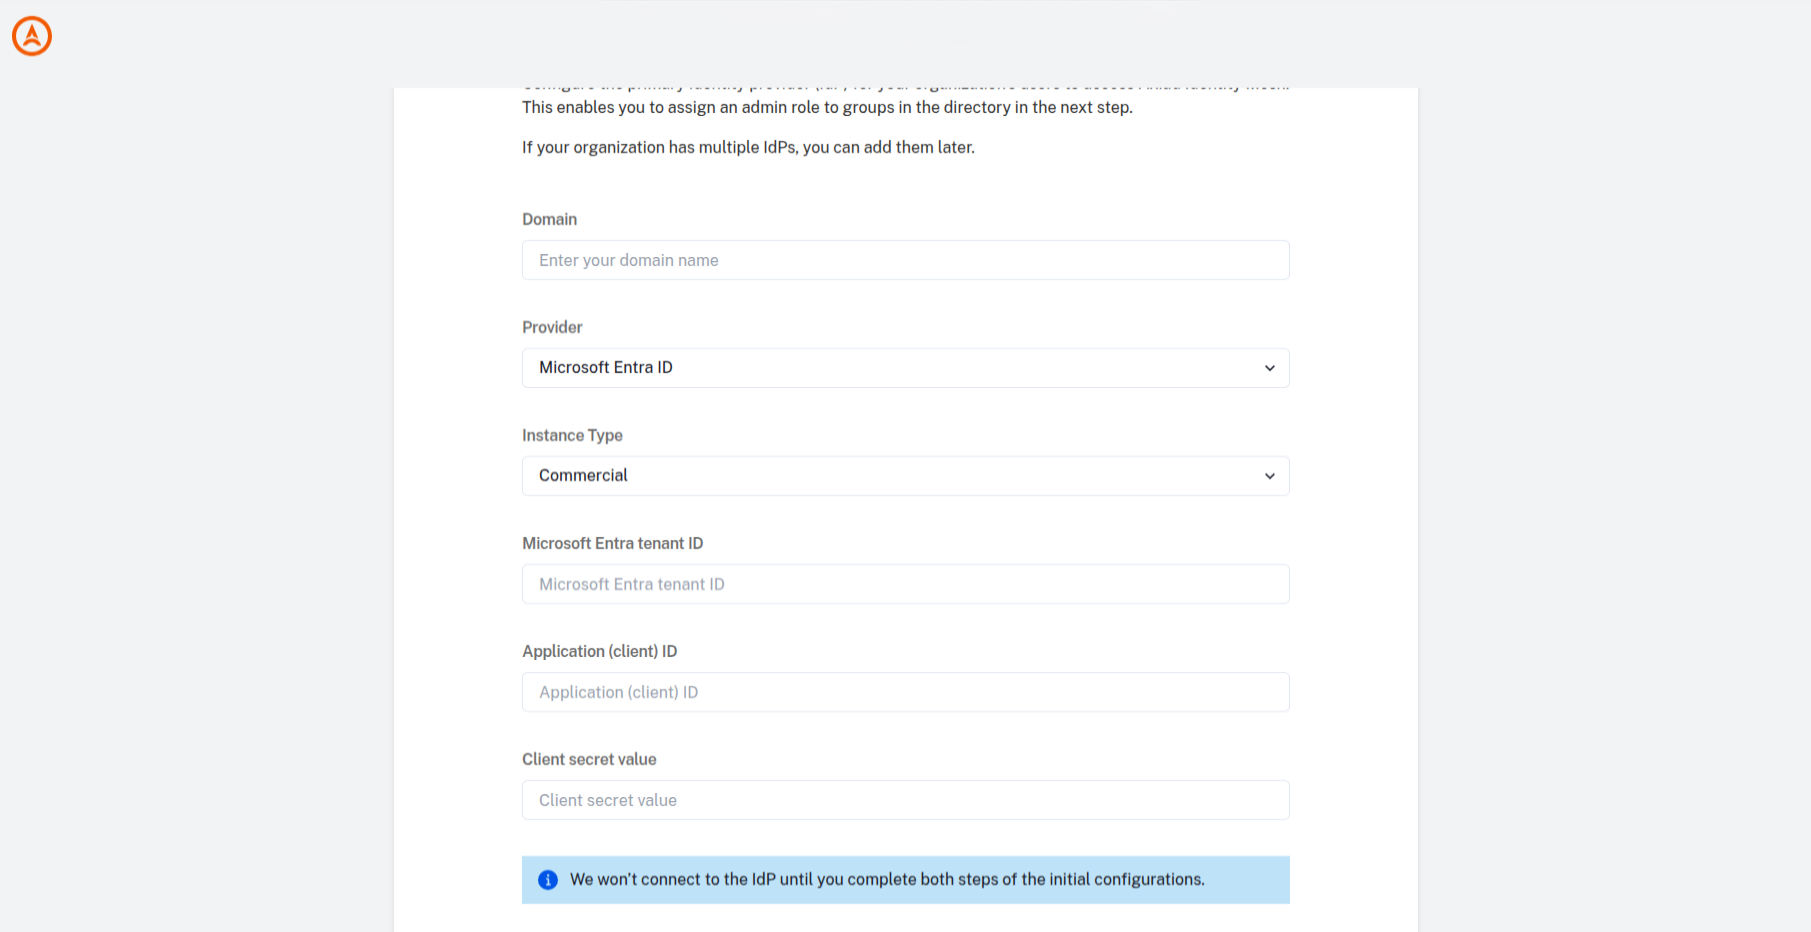
Fill in the fields:
- Domain — your organization's email domain (for example,
contoso.com). - Provider — leave this set to Microsoft Entra ID.
- Instance Type — choose Commercial unless your organization uses Azure Government, in which case choose US Gov. If you're not sure, choose Commercial.
- Microsoft Entra tenant ID — to find this value, see Microsoft's guide, Find your Microsoft Entra tenant ID, then paste it here.
- Application (client) ID — to get this value, follow Microsoft's guide, Register an application in Microsoft Entra ID, then paste it here.
- Client secret value — to create one, follow Microsoft's guide, Add a client secret, then paste the value here.
Once your details are entered, the form looks like this:
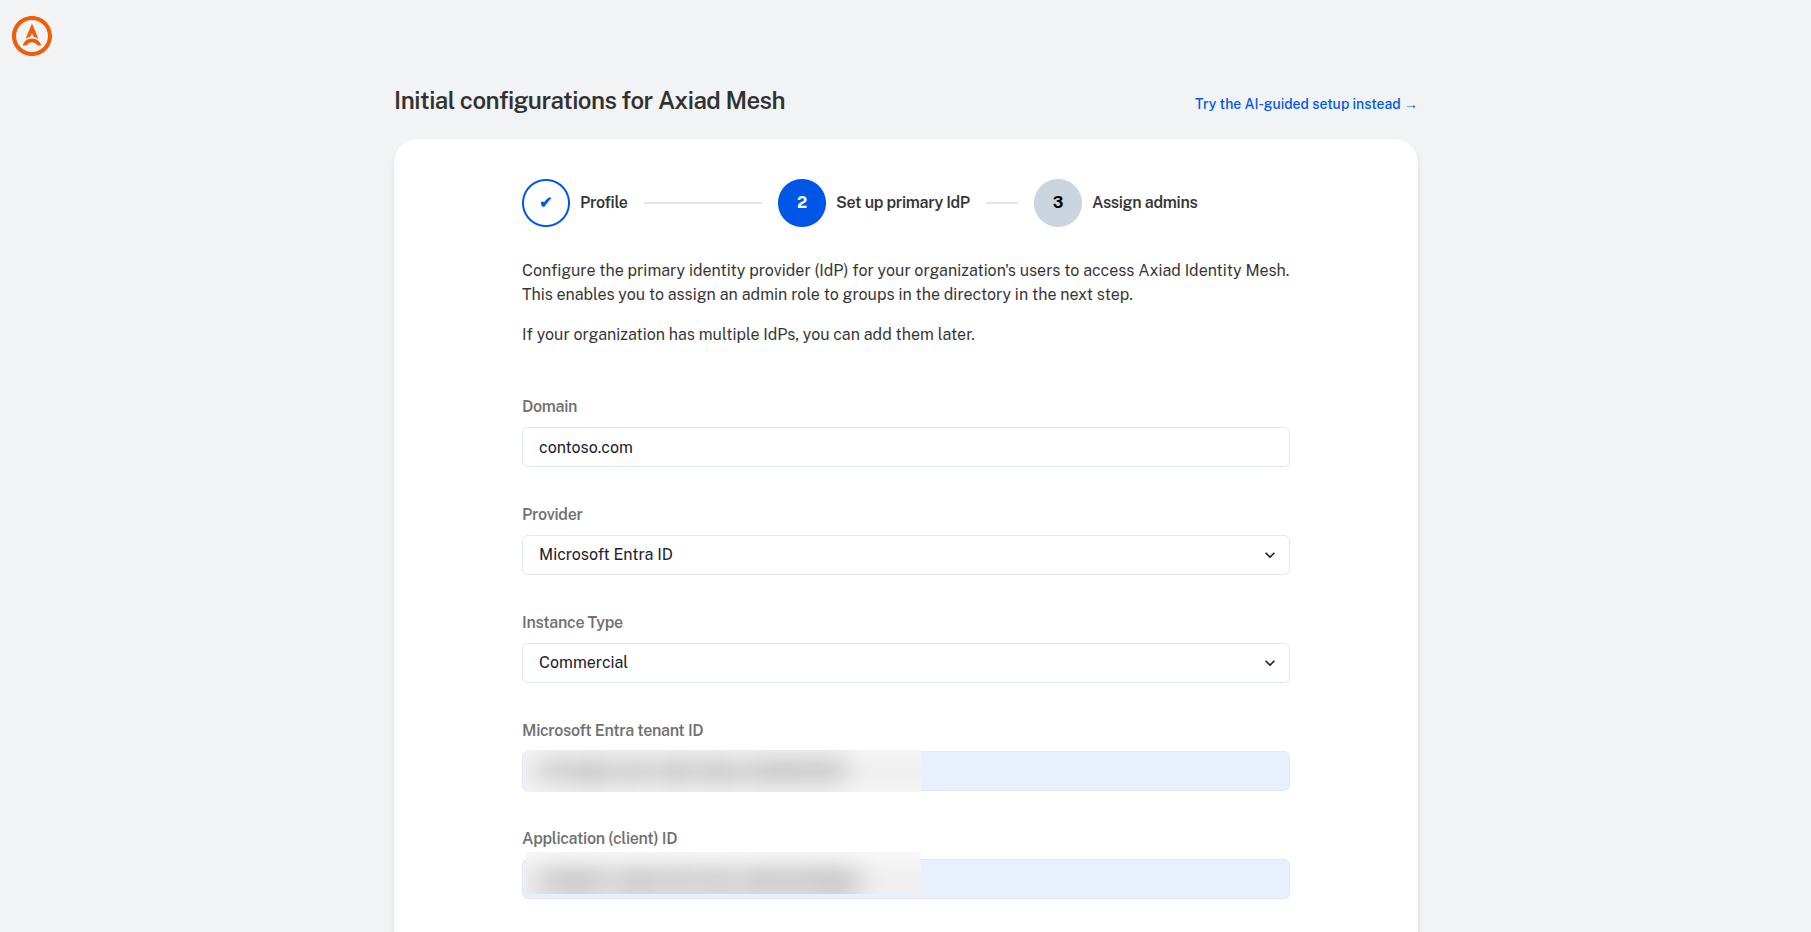
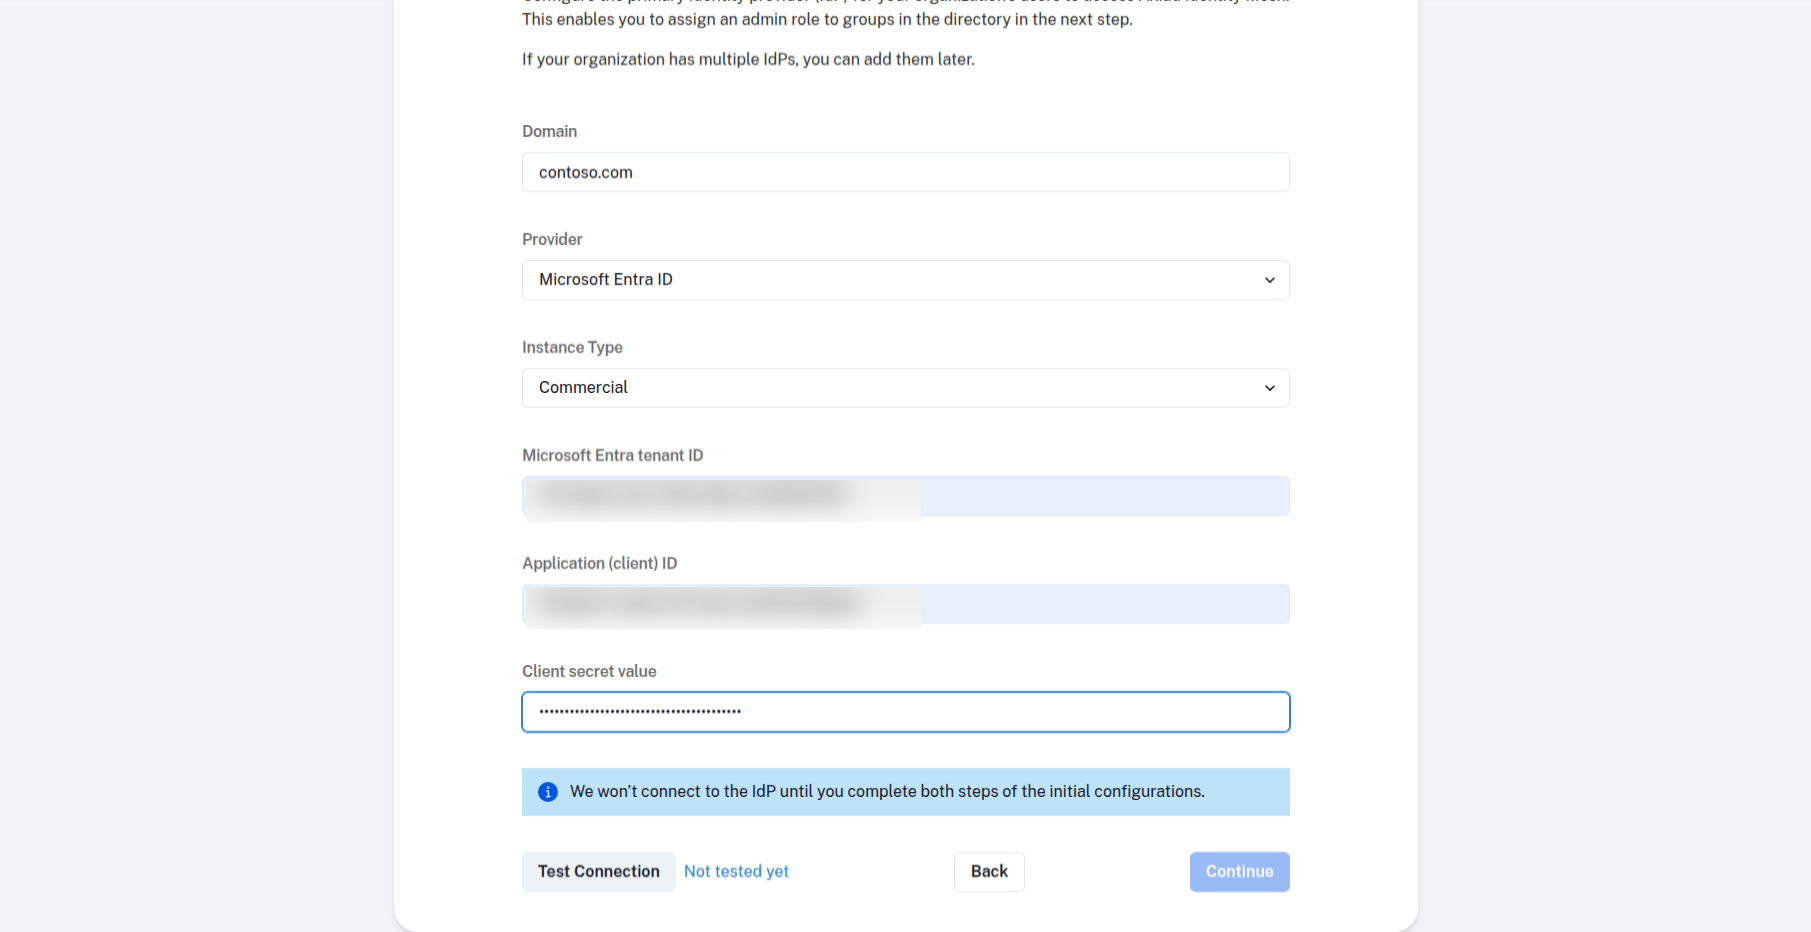
Microsoft shows the client secret Value only once, right after you create it. Copy it into Mesh before you leave Microsoft — otherwise you'll need to create a new one.
Select Test Connection. When you see Connection successful, select Continue.
Step 4 — Assign admin groups
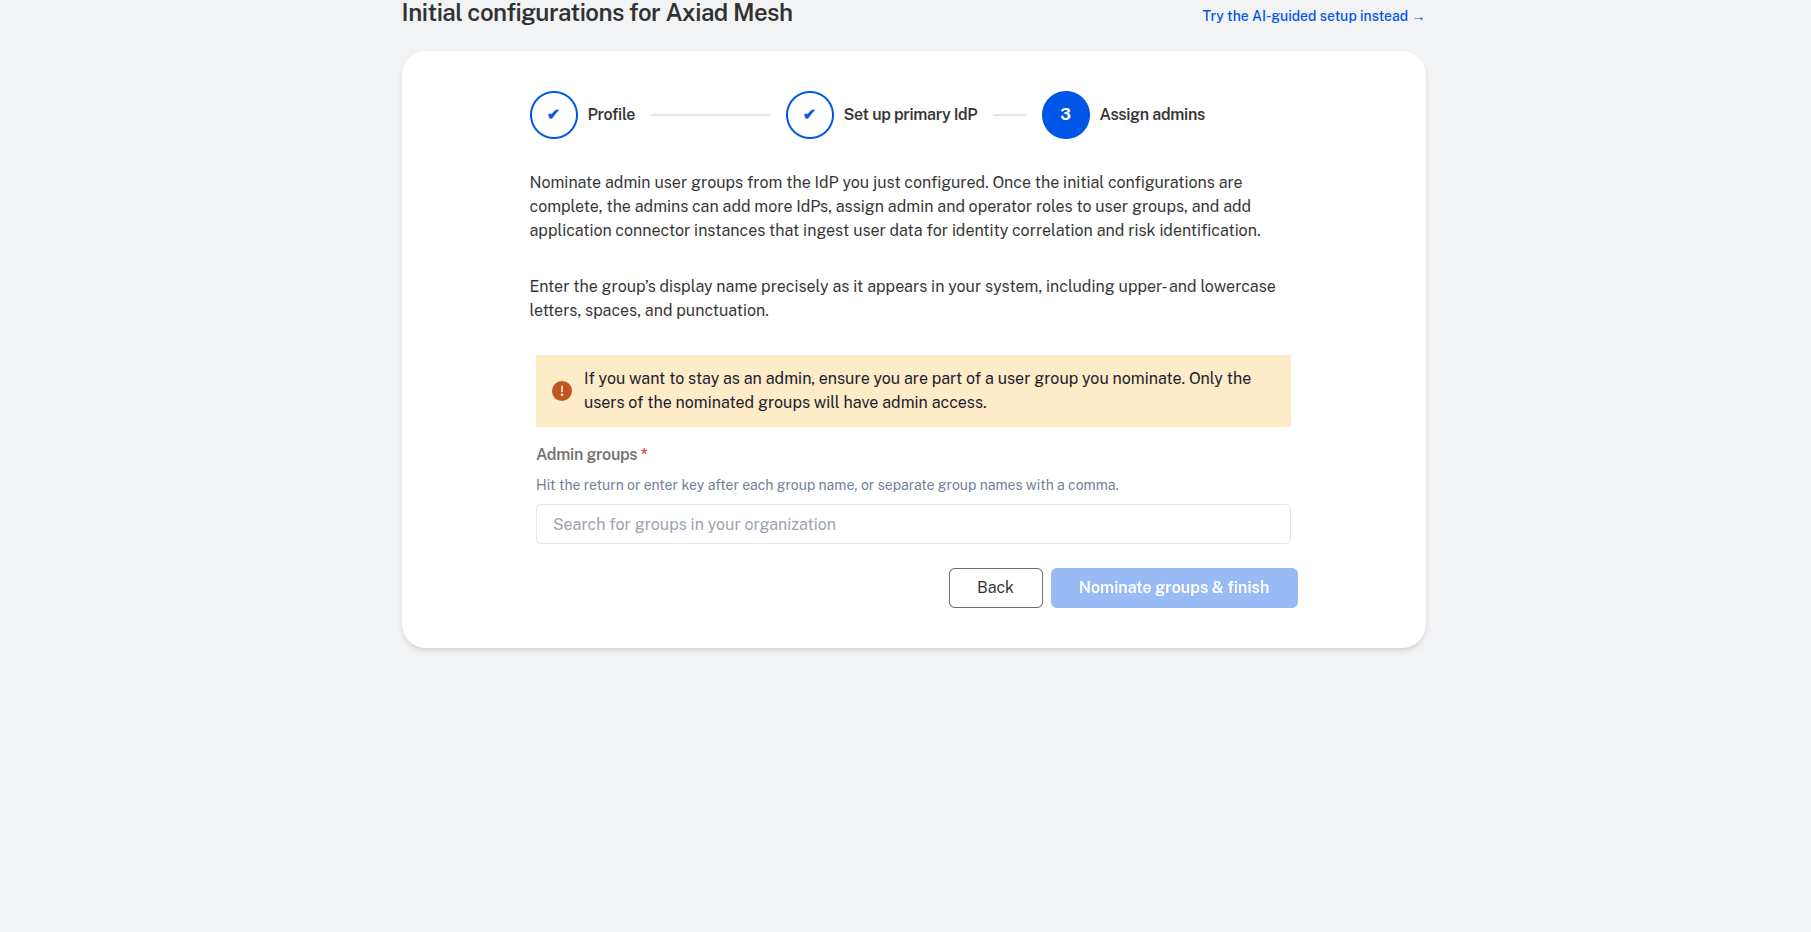
On the Assign admins step, decide which groups have administrator access in Mesh. In the Admin groups field, type each group exactly as your identity provider reports it, pressing Enter (or using commas) to add each one. Mesh matches these values exactly, so a group that is spelled or formatted differently will not grant access.
If your IdP is Microsoft Entra ID, enter each group's object ID — the GUID shown as Object Id on the group's Overview page — not its display name. Entra ID is set up to report groups by Group ID, so a display name never matches and nobody is granted the admin role. See Microsoft Entra ID identity provider integration.
Each group you add appears as a tag.
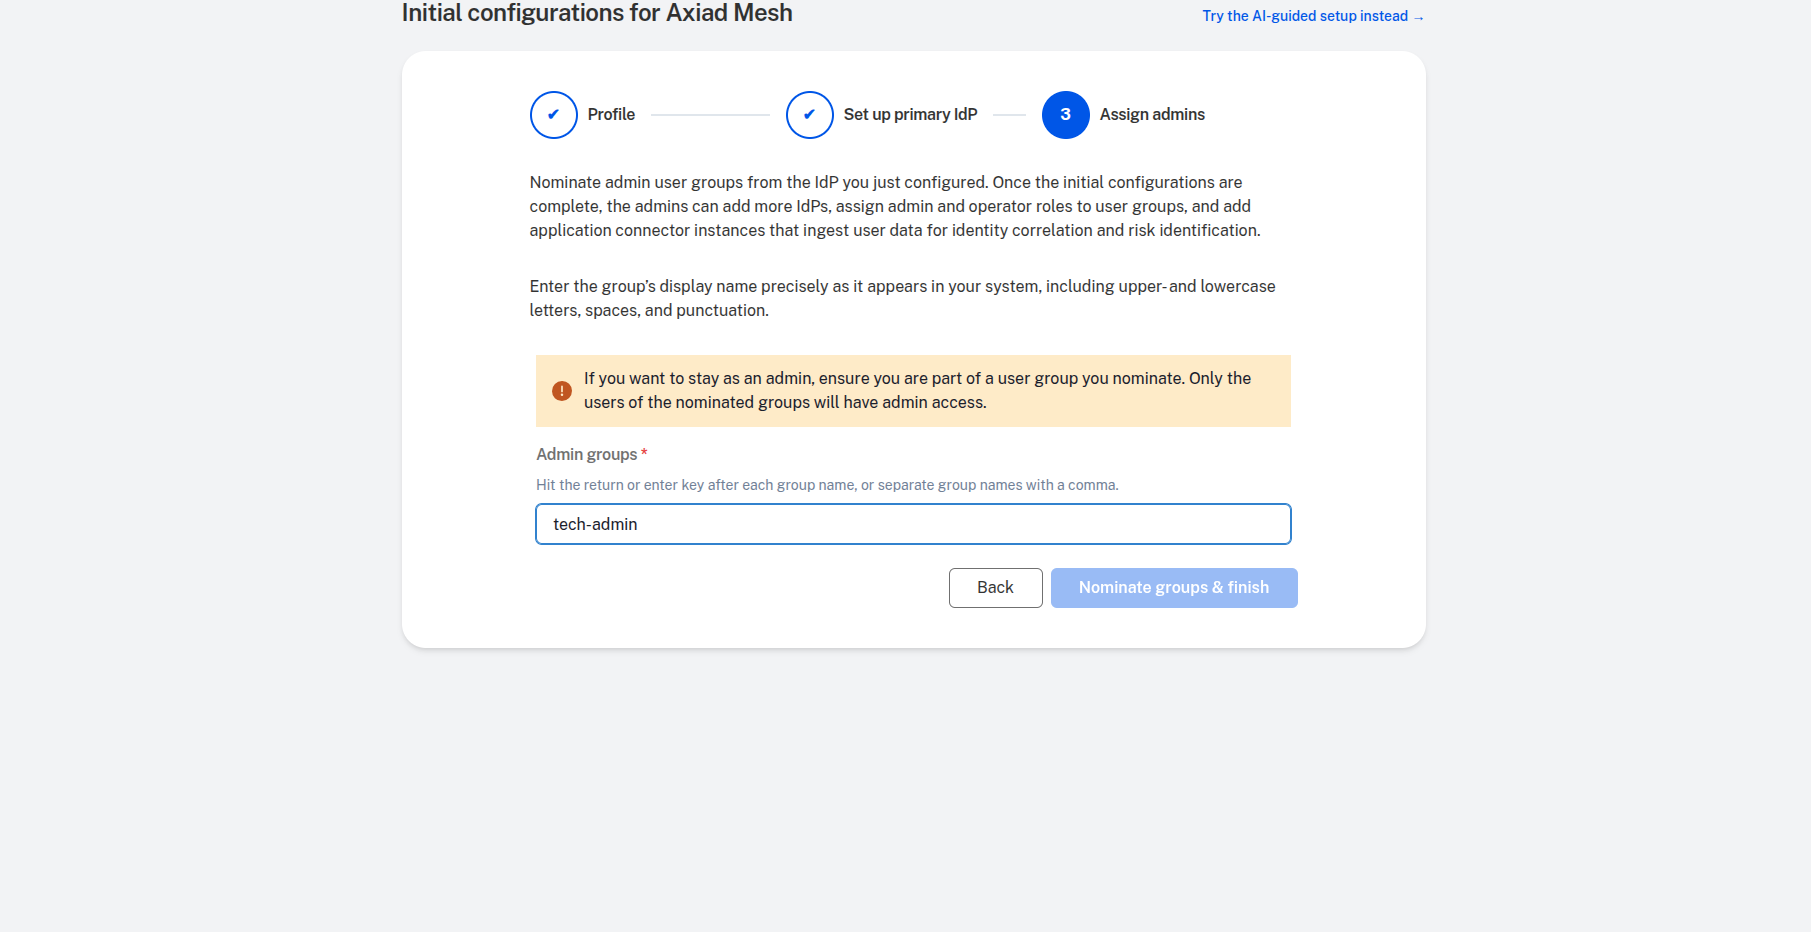
Add a group that you belong to, so you'll keep administrator access once onboarding is complete. Only members of the groups you add will have admin access.
When you're ready, select Nominate groups & finish.
Step 5 — Finish and sign in
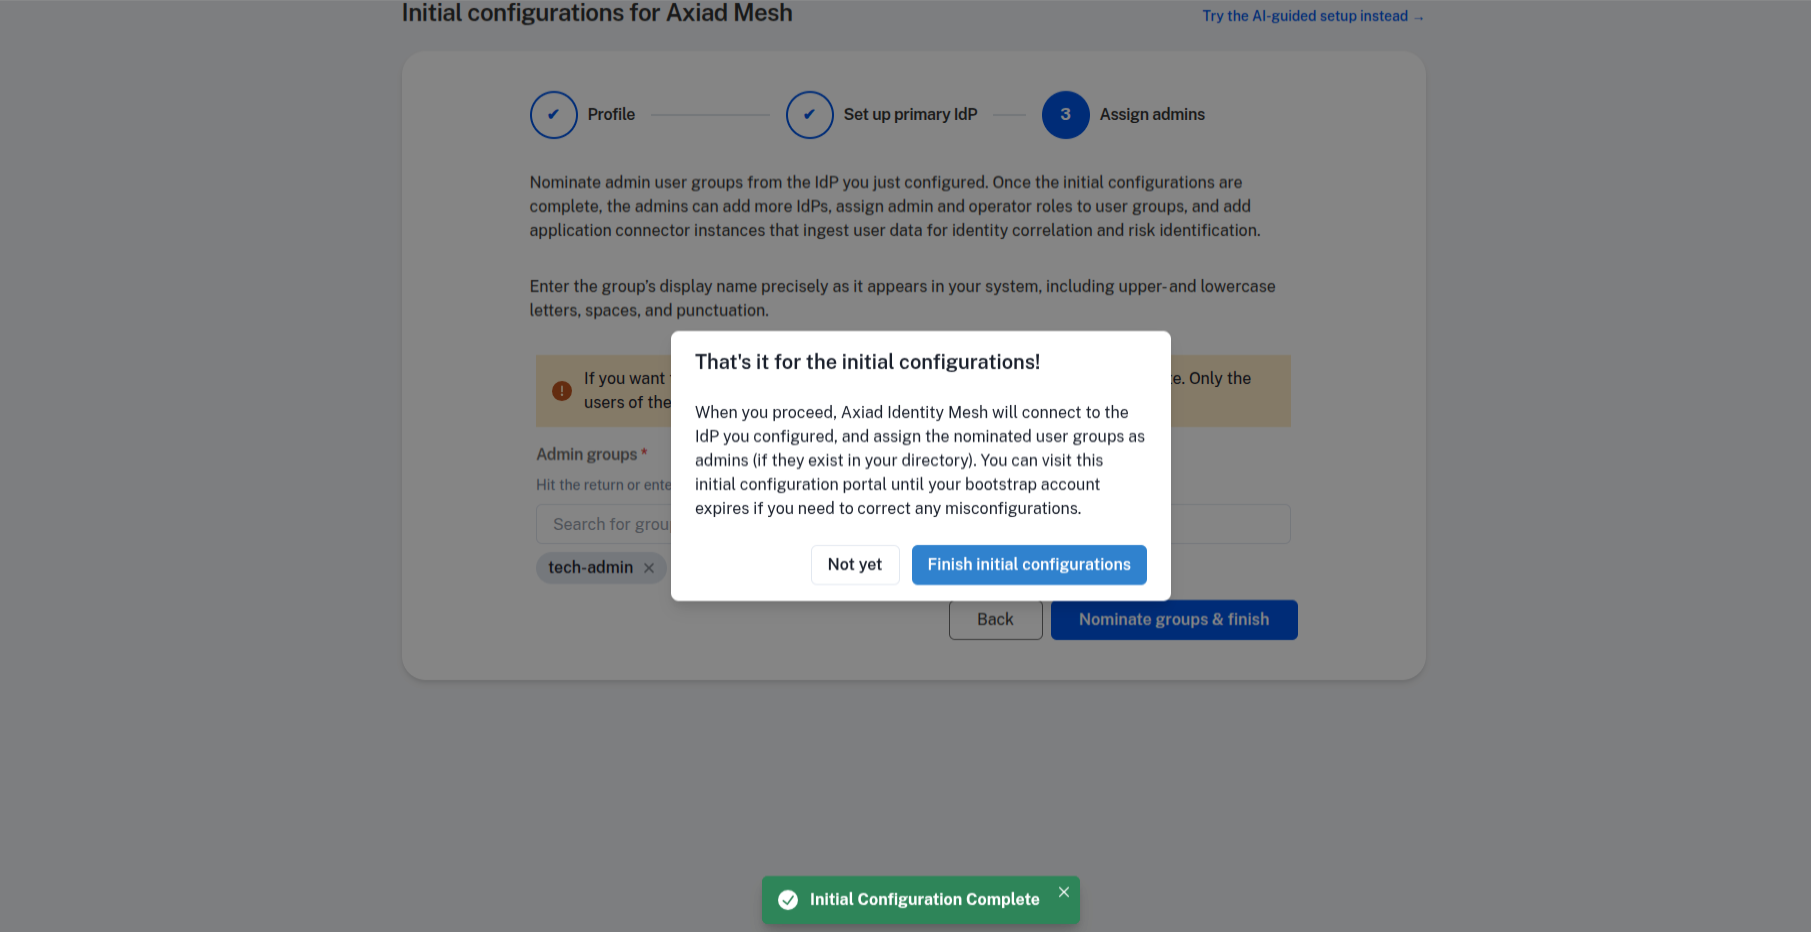
A confirmation appears. Select Finish initial configurations. Mesh completes the onboarding process and redirects you to the sign-in page.
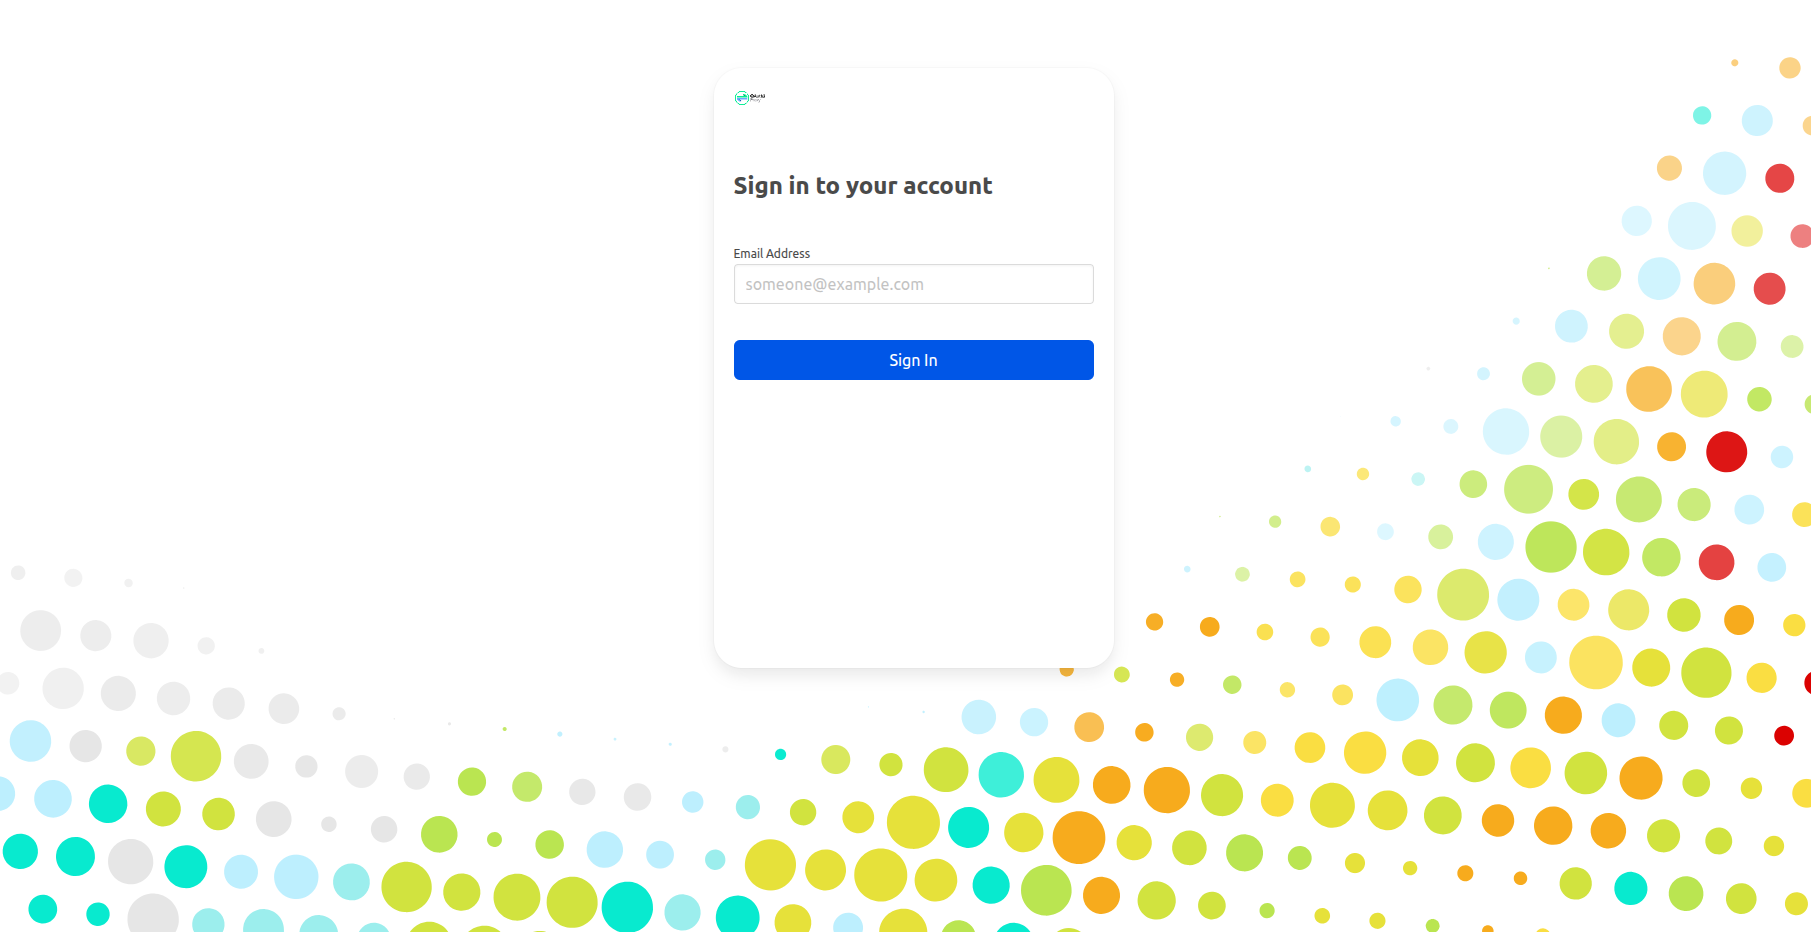
You're taken to the sign-in page. Enter your work email and select Sign In — continue signing in with your work account.
Verify
- The Test Connection check showed Connection successful.
- You can sign in with your work email.
- Members of the groups you added have administrator access in Mesh.
Next step
Once you've signed in, continue with the end-user onboarding guide to get started in the product.