Axiad Mesh admin onboarding
Welcome to Axiad Mesh! This guide walks you through what to expect as a first-time admin user: activating your account, connecting your primary identity provider (IdP), nominating admin groups, and signing in for the first time.
This is the onboarding experience for an Admin Mesh user. For a standard user (no administrative privileges in Axiad Mesh), see the User Guide.
If you purchased Axiad Mesh from the Azure Marketplace, your account setup runs through the Marketplace wizard instead — see Complete your Marketplace onboarding.
You can sign in to the tool alongside the Axiad video walkthrough, follow the step-by-step guide below, or both.
Video walkthrough
If the embedded player doesn't load, watch the Axiad Mesh onboarding playlist on YouTube.
Initial configuration
To set up secure access for you and your users, you'll receive two emails at your admin address:
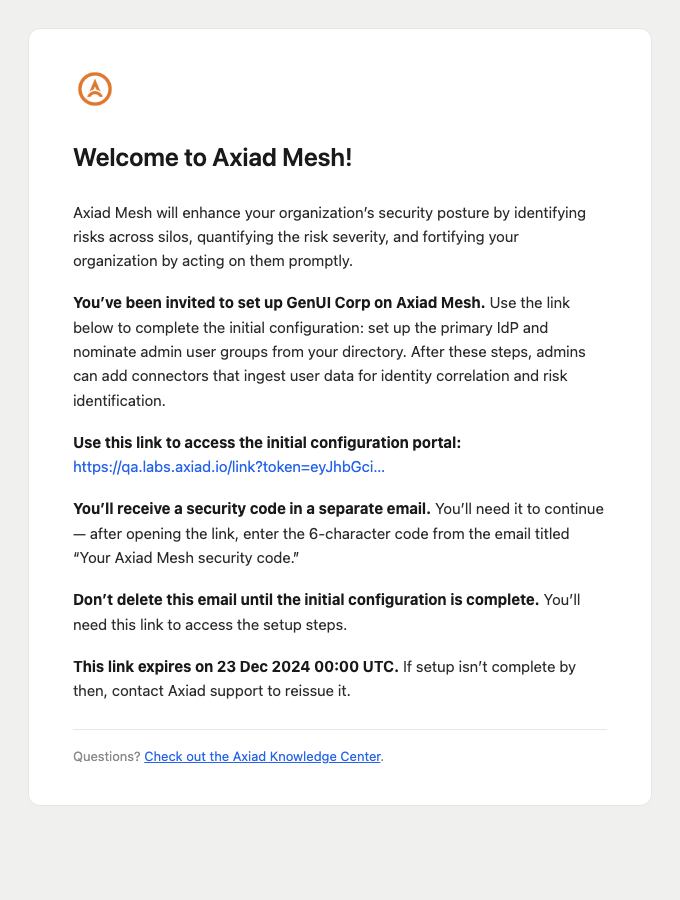
- Welcome to Axiad Mesh — your one-time setup link.
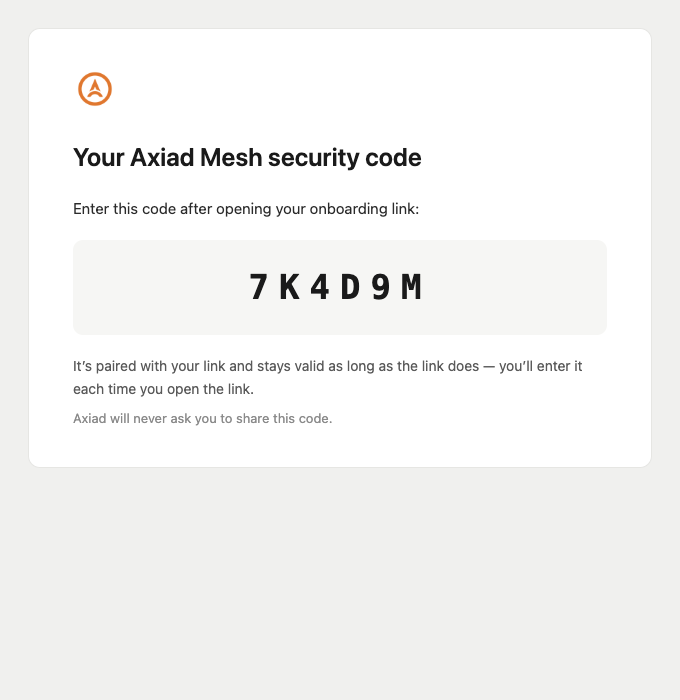
- Your Axiad Mesh security code — a 6-character code.
Both arrive in the same inbox, and you need both. Because the link and the code are delivered separately, intercepting one alone isn't enough to reach setup.
-
In the Welcome to Axiad Mesh email, select the secure setup link to open the web application. Keep this email until setup is complete — you'll use the link to return if you step away.
-
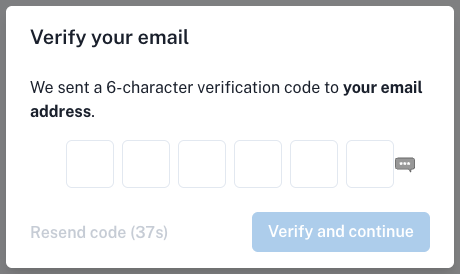
When prompted, enter the 6-character code from the Your Axiad Mesh security code email.
- The code is paired with your link and stays valid as long as the link does, so enter it each time you open the link.
- It isn't a one-time passcode: there's no separate expiry and no limit on attempts.
- Axiad will never ask you to share this code by phone, chat, or any other channel.
-
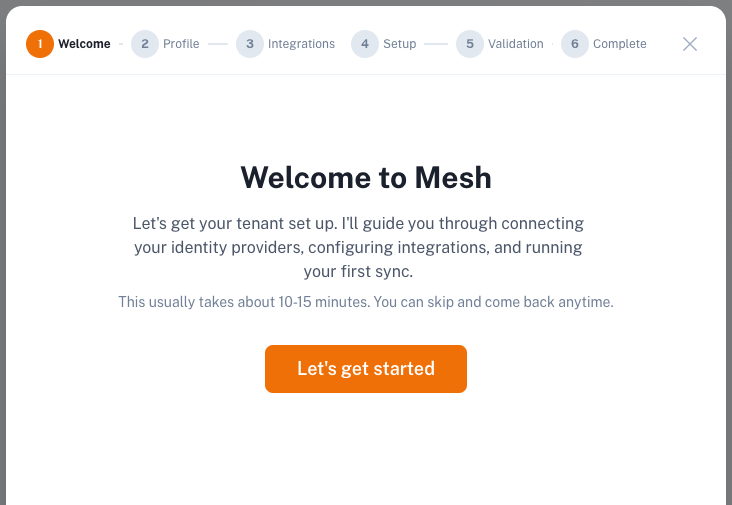
Once verified, you enter the Axiad Mesh setup assistant — an AI-guided chat that walks you through the rest of onboarding.
-
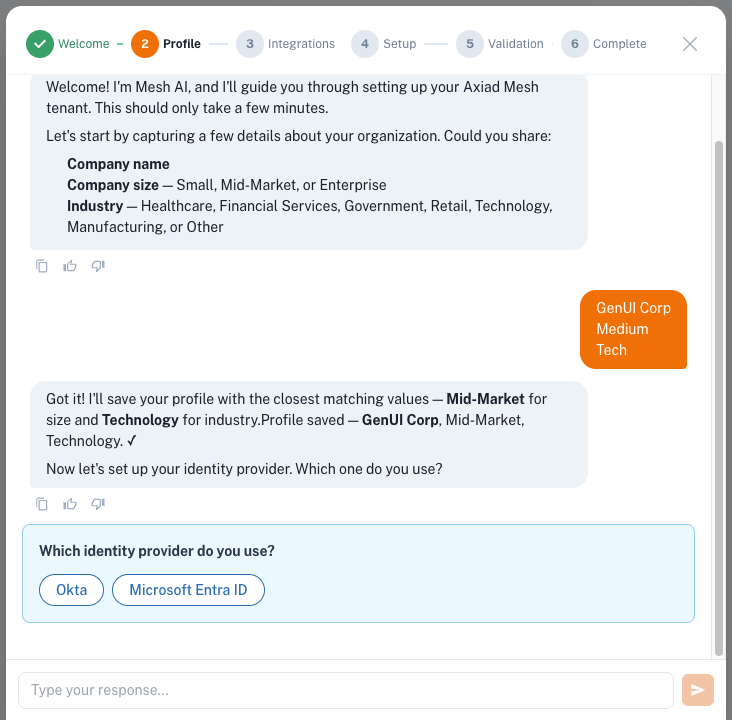
Connect your identity provider (IdP). Choose the directory that manages your users' access to Axiad Mesh — for example, Microsoft Entra ID or Okta — so Mesh can read your users and groups.
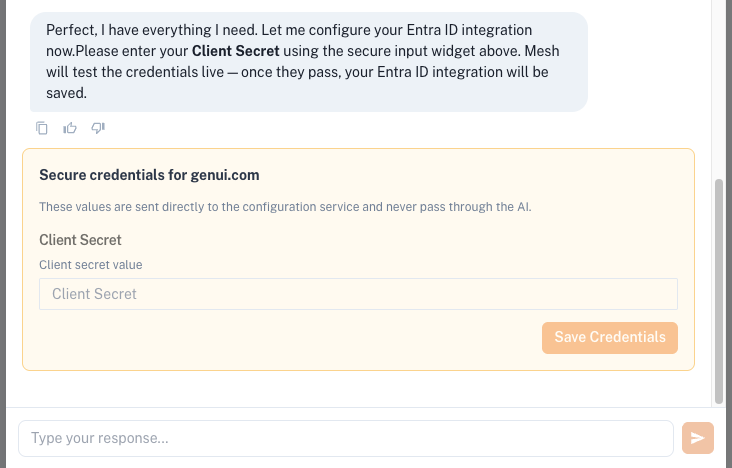
When prompted, provide the IdP credentials, such as a client secret. These go directly to the configuration service and are never shared with the AI.
-
Nominate admin groups (required). Select the directory groups whose members get admin access in Axiad Mesh, and include at least one group you belong to. This step is mandatory: admin access is what lets you manage your identity provider and connectors after onboarding — without it, no one will be able to edit or manage your IdP or connectors later.
-
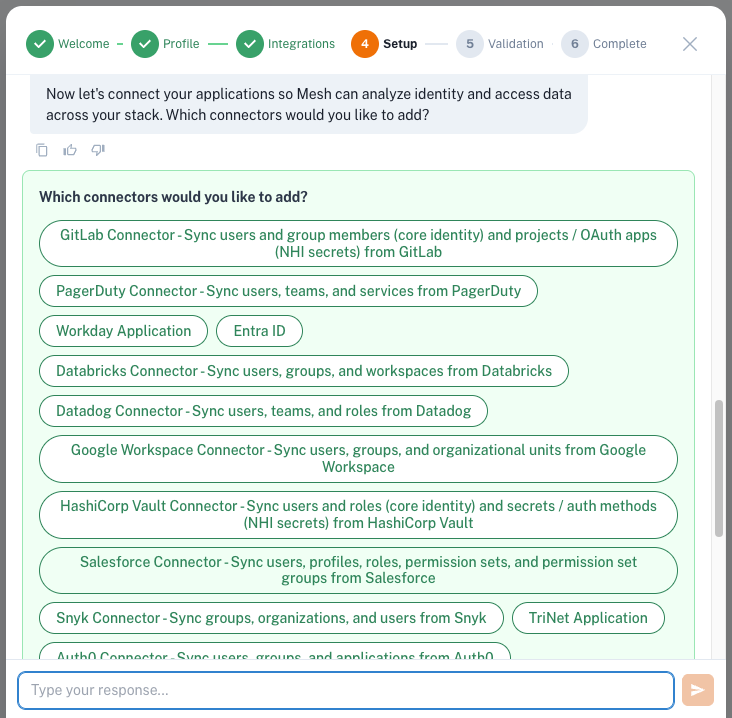
Add connectors. Select the apps and systems whose user and access data Mesh ingests for identity correlation and risk scoring.
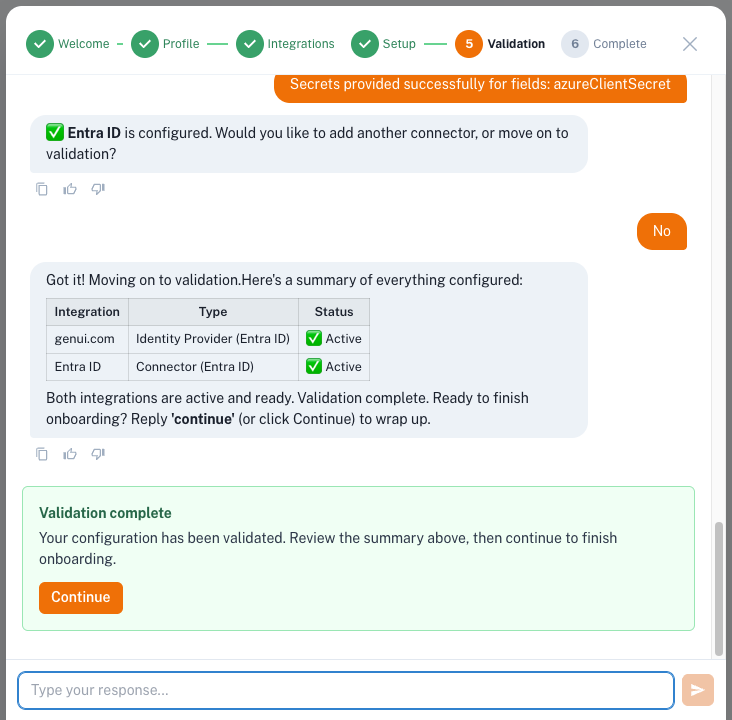
The assistant configures and validates each piece as you go, then shows a summary of everything it has set up.
-
-
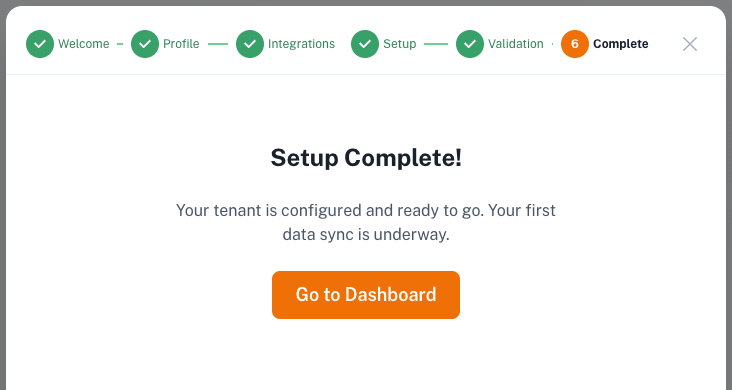
When your profile, IdP, and connectors are in place, the assistant finalizes your tenant. Your organization is now live on Axiad Mesh, and your first data sync begins.
First-time sign-in
With the initial configuration complete, you and other nominated users (admin users from the selected user groups) can sign in to the tool through the connected IdP.
-
From the new Axiad email, select the sign-in link, which opens a web browser.
-
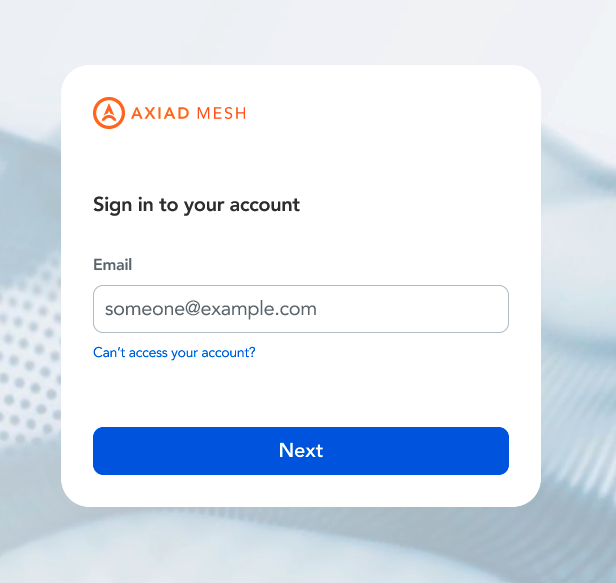
On the sign-in page, enter your username and select Next.
-
After you authenticate through your IdP, you land on the homepage of your new Axiad Mesh environment.
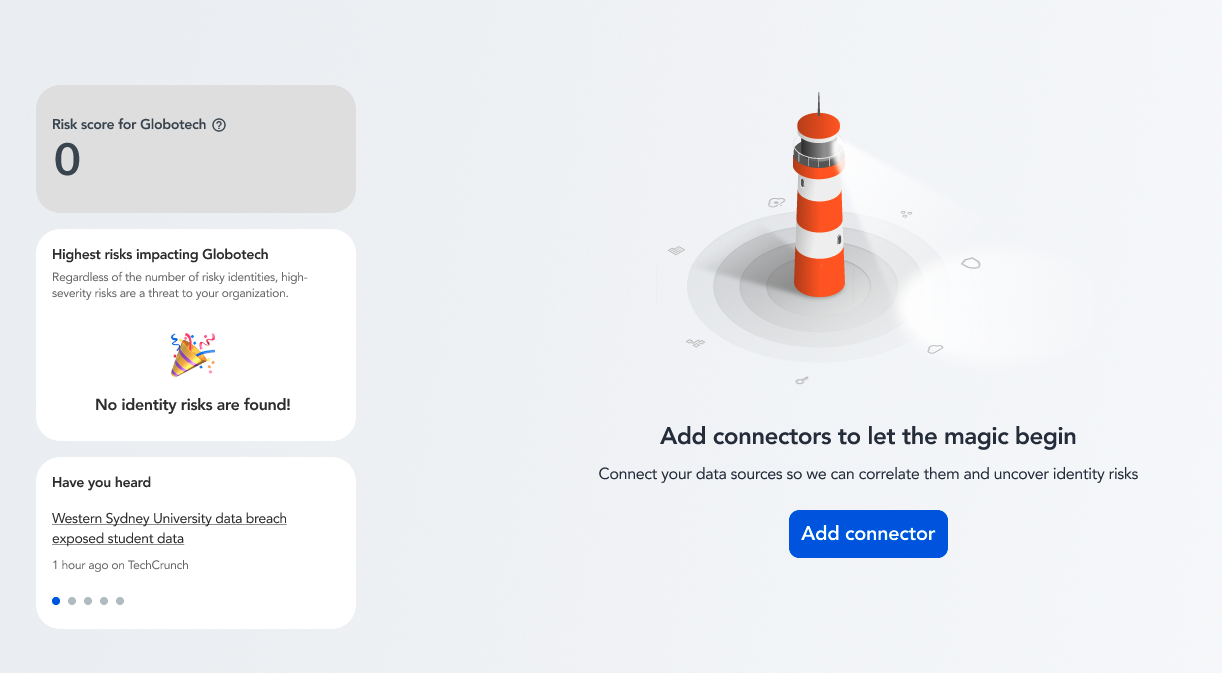
Once you add connectors, the homepage displays your identity ecosystem visualization so you can instantly see the overview of your environment.
-
Once you've successfully signed in to Axiad Mesh through your IdP, your onboarding process is complete.
-
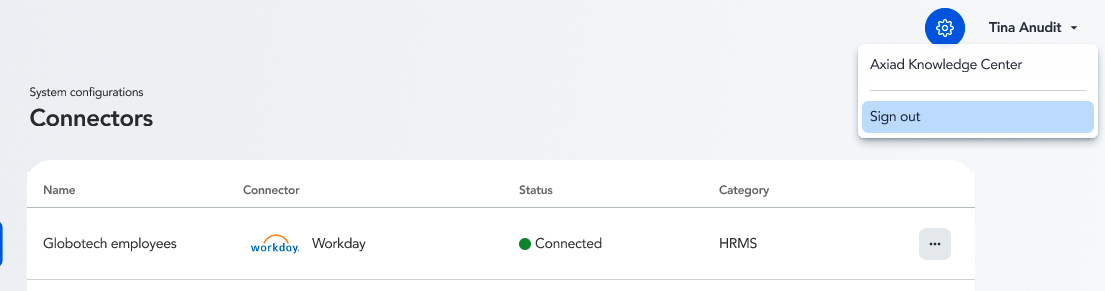
To sign out of Axiad Mesh, select your name in the top-right corner and select Sign out.
- You can also access the Axiad Knowledge Center anytime from this same menu.
Good to know
- Link expiry: the setup link expires 14 days after it's issued (the exact date and time are in the welcome email). If it lapses before you finish, contact Axiad support to reissue it.
- Resume anytime: reopen the setup link before it expires to pick up where you left off — you'll re-enter your security code each time.
- Don't delete the welcome email until setup is complete.
- Two channels by design: the link and code are sent separately so access requires both.
Next steps
- Read how to set up connectors to create your personalized visualization of your company's identity ecosystem.
- To learn how to use the visualization tool, check out the User Guide.